painting stainless steel

blckwlfny1

Member
Local time
3:34 AM
Joined
Jun 3, 2008
Messages
76
Got m'self one of those great worksman tanks from pirate cycles :D
does anyone know what is the best way to paint the stainless steel? I can not afford a pro.
Can anyone recommend a good DIY product?
And is scuffing the tank with 220 grit rough enough?
thanks
john
 
220 will work but a little finer would be fine too.
I like the spray cans with the little nozzle that you can rotate to change the pattern. They cost a little more but are great.
Do use primer.
 
220 will be ok, but you might see tiny scratches in the paint.
you might want to do 220, and then follow up with 400 or 600 grit paper.
the 220 will knock off any minor imperfections or coating that is on the stainless, and the 400-600 will smooth out all of the scratches. 400-600 will still leave enough "teeth" for the primer to grab ahold of.
remember as with any paint joib, prepping the surface is 80% of getting a good paint job.
after sanding, clean the tank with a tack rag, and then with a good quality grease and wax remover (called prep-sol) or alcohol. even the oil from your fingers can ruin a paint job.
clean the tank surface after priming, and after painting if you do more than one coat of paint. clean, clean, clean...you do not want any dirt or oil on the surface or you will not get good paint adhesion.
i am not a professional painter, but i have done some really nice paint jobs in my day just for fun.
 
Are you painting it a solid color(s) or doing art work? 220 is too rough to use without a finer grit. I'd deburr with it 220. Then go to 320. 600 is overkill . That should be plenty. Use at least 2 coats of high quality oil based primer. Then 2-3 coats high quality oil based paint. Then (if desired or if art work) a coat or 2 of clear coat.
 
Thanks!
no artwork just solid gloss black,vinyl lettering and then a clear coat.
i will make sure to sand and clean WELL with denatured alcohol.
i was planning on using rustoleum 'industral" primer and then rustoleum "industrial" paint. it says "primer can be topcoated immediately" and "recoat within one hour or after 1 day: so in the past on other surfaces, it seemed to have worked best to prime, reprime, paint coat one and then coat two all at once waiting about 15min in between to let the paint get tacky.
...of course i dont know the long term results yet. whaddaya think? :D
 
Personally, I'd go w/ a Krylon system.

Make sure to degrease the tank before you sand! You don't want to grind anything into the pores! 320 grit is fine for sanding the steel. You can go finner for the primer if your picky but I agree 600 is overkill and your more at risk of seeing finger gouges if you go that fine! Wrap the paper in a sponge to avoid them if you don't have a faker (sanding block).

It's always good to powder your first coat of primer and paint on, it helps w/adhesion!
 
yes, 320 will work on the bare metal.
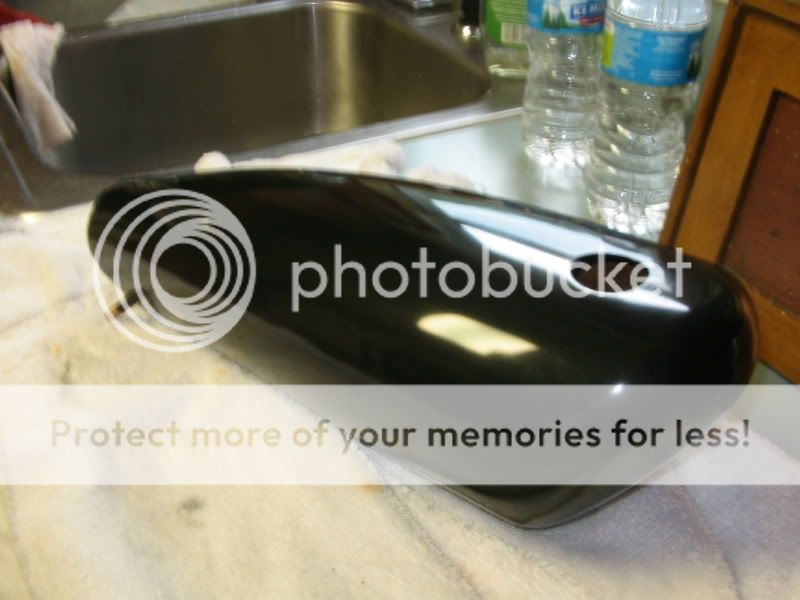
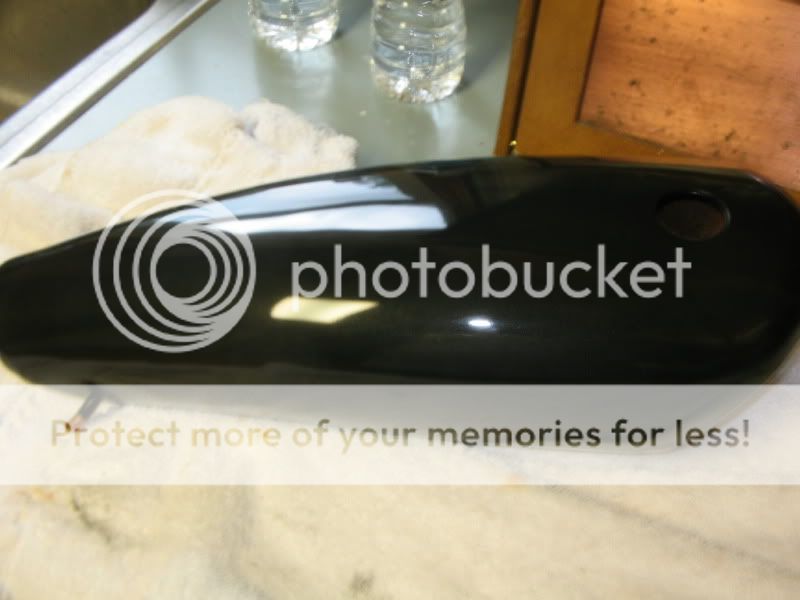
here's a tank i just painted.
sanded it down to bare metal with 80 grit paper.
went over the bare metal with 220, followed by 400 grit and then cleaned the bare metal with a tack rag, and then alcohol. did some bondo work to fill a weld that i ground down on the front of the tank. cleaned it again witrh alcohol.
Primed it and let the primer dry for a day.
wetsanded the primer with 400, and then 600 grit to get rid of any dust, cleaned it with alcohol.
sprayed the first coat of paint on thin, concentrating on covering the edges first. let it dry for a day, and then cleaned it with alcohol.
sprayed the second coat of paint on to cover the primer...let it dry for a day.
wetsanded with 600, and cleaned it with alcohol. then sprayed a 3rd coat of paint on to cover the entire tank.
let it dry for a day and wetsanded again with 600 grit cleaned it with alcohol and then sprayed a 4th coat on "wet" so it would dry glossy.
let it dry for a day.
wetsanded again with 600 to get rid of any dust. using a sanding block to sand down any "hills", "craters", or orange peel. if you wet sand, you will see high and low spots as soon as you start to sand, you want the entire area smooth and dull..no shiney spots at all. high spots will be dull, low spots will be shiney.
cleaned it with alcohol and sprayed the first coat of clear on it and let it dry for a day.
wetsanded with 600 grit to do the same as with the paint...to remove any dust, hills, crators or orange peel. again, you want the entire surface smooth and dull.
cleaned it with alcohol.
sprayed the 2nd coat of clear on it, and let it dry for a day.
wetsanded again with 600 grit and cleaned it with alcohol.
sprayed the 3rd coat of clear on "wet" and let it dry for a week so the clear would harden enough to be buffed out.
wetsanded with 600 grit, and then buffed it out using rubbing compound, followed by a high quality wax.
The paint i used was metalic black laquer so it has a relatively fast dry time and you can fix mistakes in laquer a lot easier than you can with enamel paint.
the reason for so much wetsanding is to get the entire painted surface uniform and smooth. in the end, this is what gives paint depth....which is what most people are looking for in a custom paint job.
sure, it took me about 2 weeks to do the paint, but in the end, this is how I paint, and I will not settle for just a rattle can spray job on anything.
if i paint something, it's going to look good, be very glossy and have depth....that's just me.
I used a touch up spray gun to do the paint. it's bigger than an airbrush, and smaller than a regular size paint gun.
I realize that not everyone has the tools or the means to do a paint job in this fashion, but you can get the same results with spray cans IF you take your time and do it right.

tank6.jpg


tank4.jpg


tank5.jpg
 
That looks awesome!
What do you use as a rag when you do the alcohol wiping?
It seems like everything I have tried leaves lint on the surface.
Hairy paint jobs suck...
I have tried to get the quality you have achieved, but the best knowledge I have is which direction to hold the spray button on the can.
I eventually give up and figure it is painted now and won't rust.
 
Last edited:
That is a nice job, however I could offer advice contrary that would yield better results with less work...

I don't want to sound like a know it all, because I always seem to learn something on here!

Just a few notes, A) You are correct that laquer is easier to fix mistakes in! It's more brittle than enamel, and therefore cuts (with sand paper)quicker! Laquer for these reasons is also thinner... My old boss was so good at laying that stuff down, He'd get away w/o buffing! I've seen laquer scratch from a fingerprint tho!

B) Not necessary to sand between coats as described. If you do it w/modern base coat clear coat applications for cars, this procedure will get you in trouble in a hurry, never sand between the color and clear coat on modern automotive finish systems.

C) I realize the tank pictured is not a high end sports car! And I by no means am trying to put your work down. NICE JOB! 600 grit is to coarse for use prior buffing, use 1000 or finner! 600 to flatten a run is ok but 1000 before buffing or you'll spend more time w/ the wheel in your hand! Look at the base of the lightbulb and you can see scratches, 1000 will get rid of that!

All-in All, nice work! I can't believe you got away with sanding the color before putting down the clear, especially w/metallic color!
 
Back
Top