B
Blaze
Guest
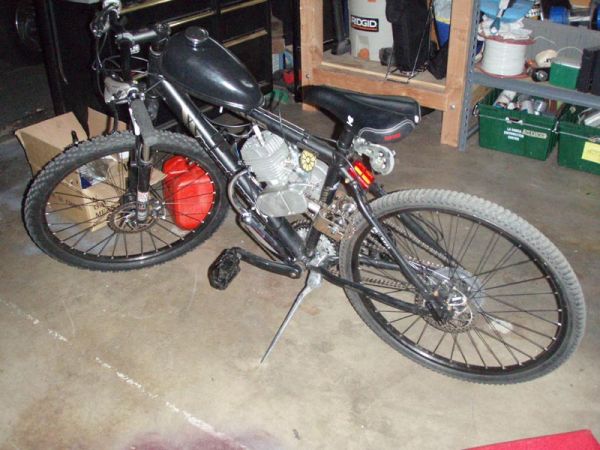
Here is the bike from the left side. A few things are still temporarily mounted just for testing. The derailleur is strapped up out of the way, while the bike is currently set up to use just 1st gear only.
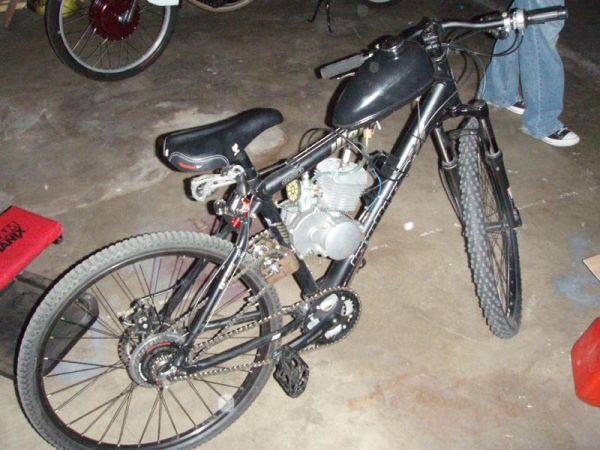
This is the left side where you can see the motor chain going to the jackshaft.
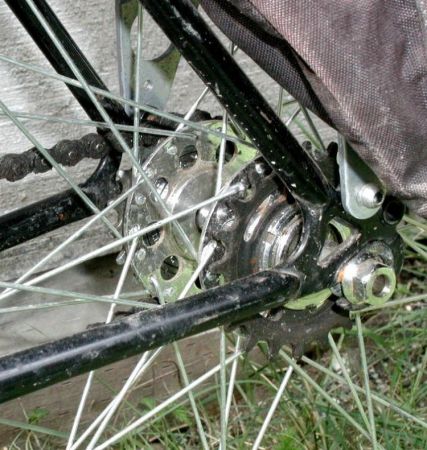
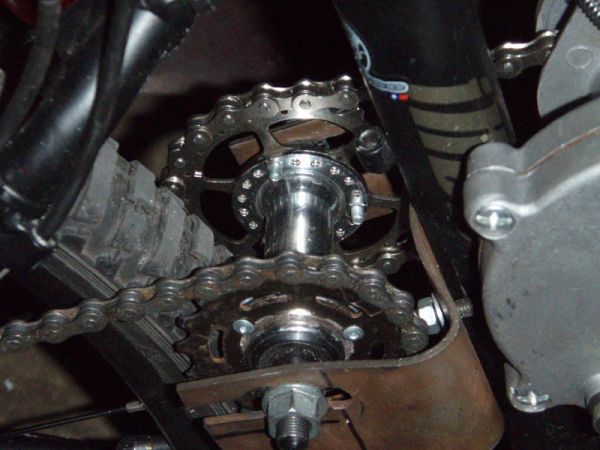
Here is a good photo of the second version of the jackshaft mount. I don't know if I will make a third, or keep this one. I decided that it would be better to bolt the jackshaft hoder on by using it as the backside to the motor mount. No welding for the mount will be required (which is good, because the frame is aluminum). The sprockets on the jackshaft will have to be welded. They are currently riveted on, but the rivets really aren't strong enough for permanent use.
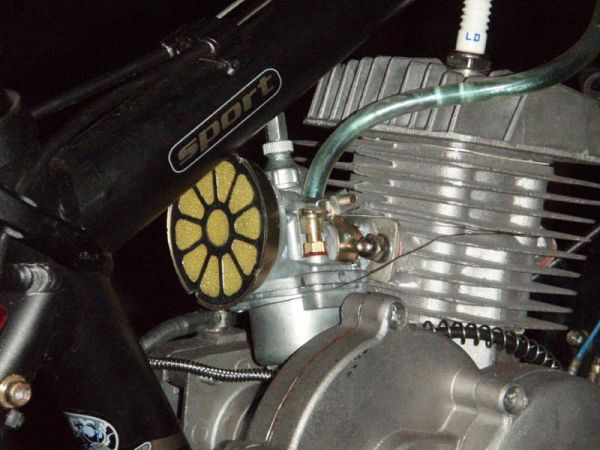
This last photo shows how I crammed the carb in there. The air filter housing basically got cut down to a small ring, then I cut the screen and sponge to fit into the smaller area. The manifold puts the carb right up against the motor, and the carb is angled slightly sideways to clear the clutch cable mount (which was cut short). The carb is actually held up by safety wire right now because I damaged the manifold upon installation. It is a little wobbly, but it ran OK for testing. A stainless steel manifold will probably be necessary.
This is the left side where you can see the motor chain going to the jackshaft.
Here is a good photo of the second version of the jackshaft mount. I don't know if I will make a third, or keep this one. I decided that it would be better to bolt the jackshaft hoder on by using it as the backside to the motor mount. No welding for the mount will be required (which is good, because the frame is aluminum). The sprockets on the jackshaft will have to be welded. They are currently riveted on, but the rivets really aren't strong enough for permanent use.
This last photo shows how I crammed the carb in there. The air filter housing basically got cut down to a small ring, then I cut the screen and sponge to fit into the smaller area. The manifold puts the carb right up against the motor, and the carb is angled slightly sideways to clear the clutch cable mount (which was cut short). The carb is actually held up by safety wire right now because I damaged the manifold upon installation. It is a little wobbly, but it ran OK for testing. A stainless steel manifold will probably be necessary.