Fit, Mark, And Drill
I had no problems determining where to drill the hole for the lower mounting. Here's how I did it. [Oh, and NO math involved!]
1. Bribe a friend (in my case - my wife) to help.
2. Cover the down tube and bottom tube with masking tape or a cloth so you won't scratch it.
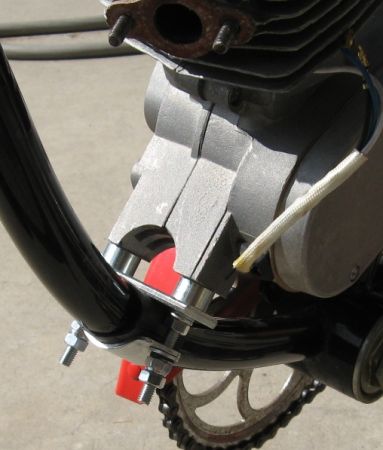
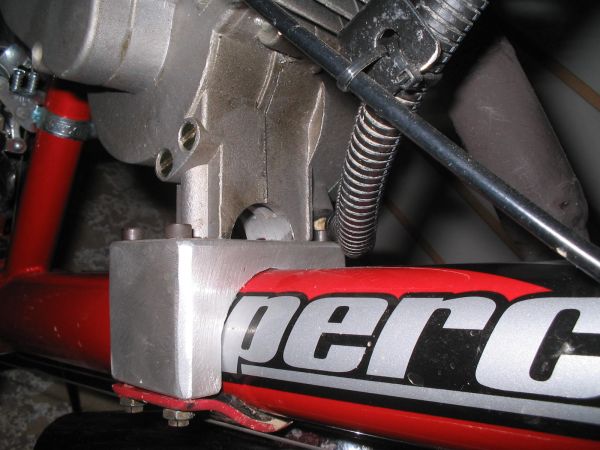
3. With the front mount attached, but without the center bolt (that will eventually run through the frame), place the engine in position aligning the rear over the down tube and placing the front mount against the lower tube.
4. Move things around until they seem to be sitting flush. You can even put on the rear motor mount bracket to help hold things in place (or just let your friend keep holding it while you act is if you're in no hurry

)
5. With a sharpie or a pencil mark the edge of the lower mounting plate and the hole if you can reach it.
6. Take everything back off and let your friend's arms rest.
7. Now you can remove the lower bracket and hold it up to the markings you just made in order to ensure that your mark for the center hole is in the right spot.
8. Drill Away! - Be sure to start with a smal bit and get larger.
9. When the hole is just large enough for the bolt, reassemble the mounting brackets with the lower bolt in place.
10. Pull off all the tape on the tubes and with the help of your buddy (whose arms are just starting not to feel like jello anymore) carefully set the engine into place.
11. Tighten down the bolts, touch up any paint scratches, and Ta-Da! Your done!
Hope this helps.
Charlie


