Like the name?
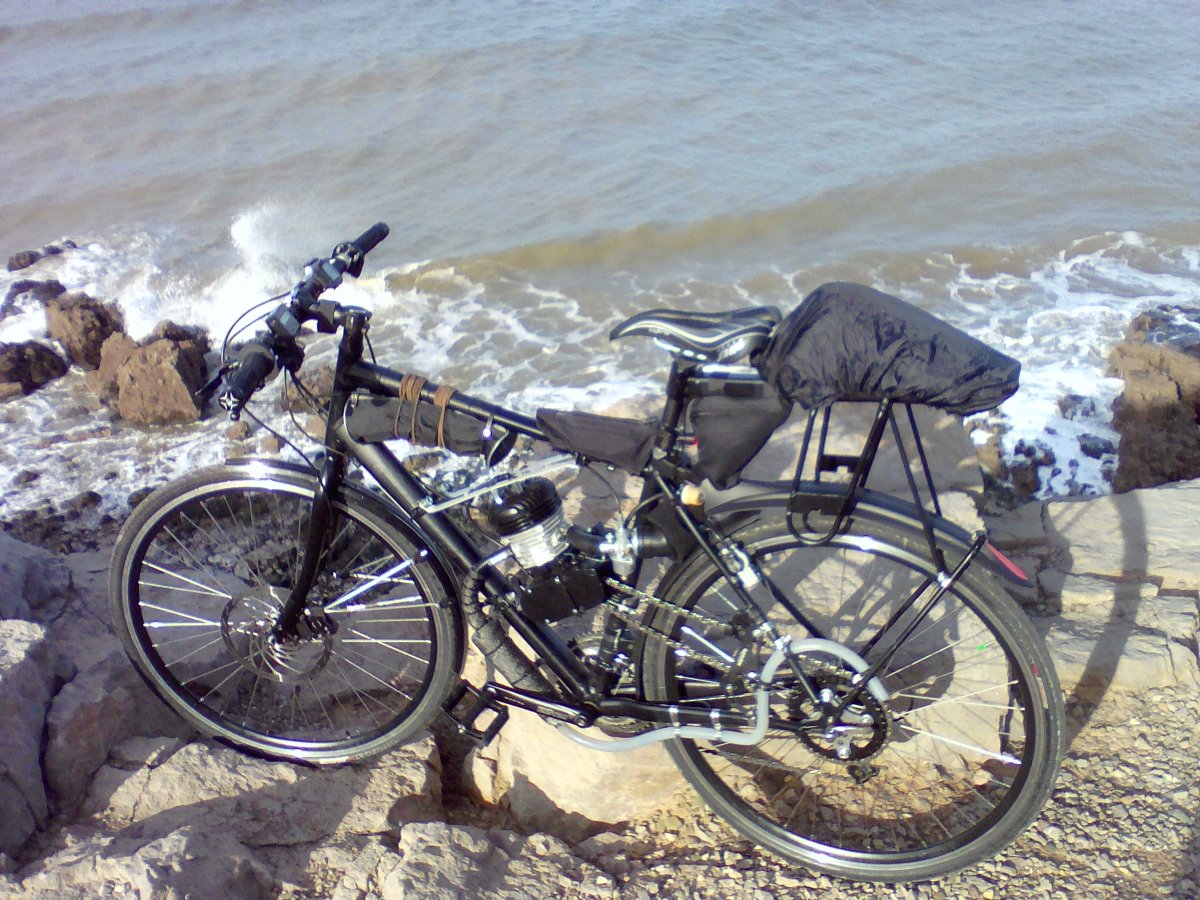
 Night Furry hehehe! pronounced "Night Fury", after the dragon species from the movie How To Train Your Dragon. It's characteristics are lightning speed, deadly stealth, awesome firepower, and an appetite for fresh fish!
 Anyway I actually wanted to start a build thread after the first engine start so it's a running bike first.. but never mind.
I mainly built this single speed Night Furry (motorised Specialized Sirrus 2012) because I thought this will be a faster way to get a running bike before summer ends. Far too late for that now but never mind.
I wanted to have two motorised bikes anyway. I'll always be riding solo if I don't build two bikes, haha.
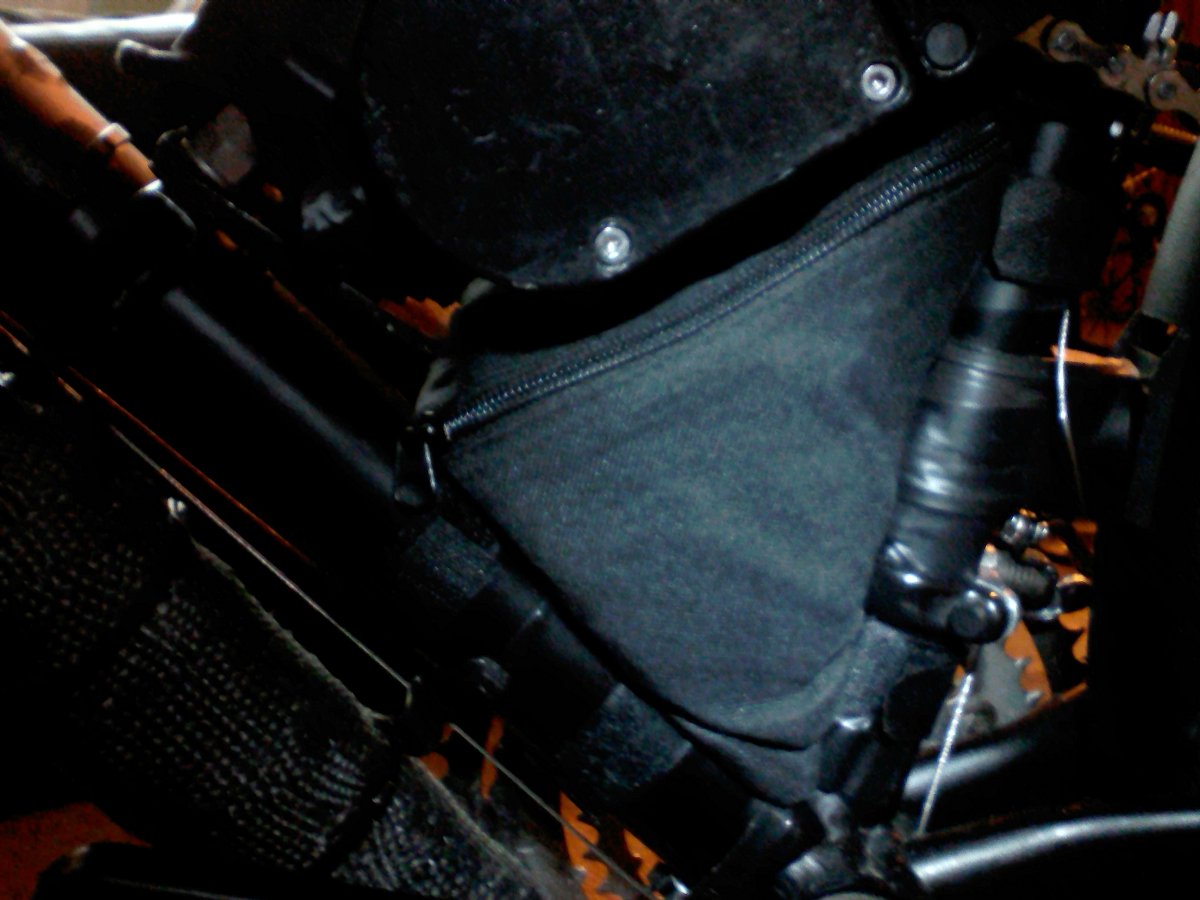
The Sirrus has been a touring bicycle work in progress for a while. I was fitting it with a more aerodynamic cargo system, trying to improve on the typical square shaped panniers and bar bag, to help with the headwinds I face on the coast. I wanted to have room for the things I need during the ride, and a modular system so I can just carry some of the bags when I only need certain items. I wanted plenty of room in the handlebar bag for my things. This is as far as I had got with that idea
However I had stuck with the stem and bars that came with the bike, the straight fork, V brakes and the 32 spoke wheels.
I have been carrying more and more stuff on cycling trips. I wanted easier/better equipped camping, fishing and snorkeling but weight had become a problem already. Then the bulk became a problem, too.
Then I added a single wheel trailer for the bulk, and that increased the weight even more.
All the water, food and stove fuel, clothing and personal comforts needed for the journey was growing exponentially as the weight slowed me. Trips to the nice places were taking too long and leaving me too saddle sore.
This bike needed an engine!
So this build is intended for long distance, up to 80 miles, but further than that when it has proved itself.
It needs to be pedallable if it isn't possible to fix on the road.
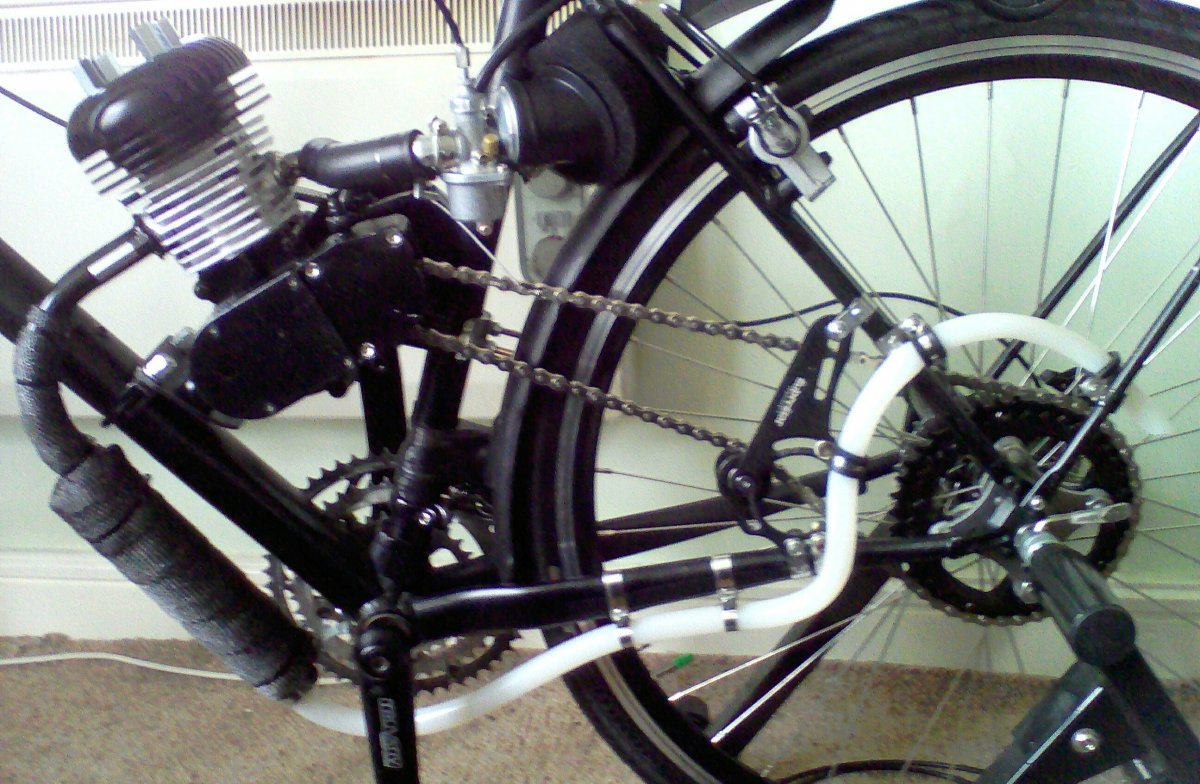
It has to carry shore fishing rods and rod rests along the top tube, which is why the rear rack is so high up.
I will try to carry all of my fishing equipment on the bike, so that I can camp in one place and make little trips out to the surrounding areas without always bringing the trailer with me.
So yeah that's basically what the bike is for and why it is this type of build on a so-called "hybrid" bicycle.
For the motorisation I have upgraded the wheels and the fork using the parts left over from the Dawes Galaxy Cross, and I have upgraded the brakes to hydraulics which I bought used on fleaBay.
I just got the front brake working without dragging on the caliper body (it wasn't meant to take a 220mm rotor!) by removing some material from the caliper body.
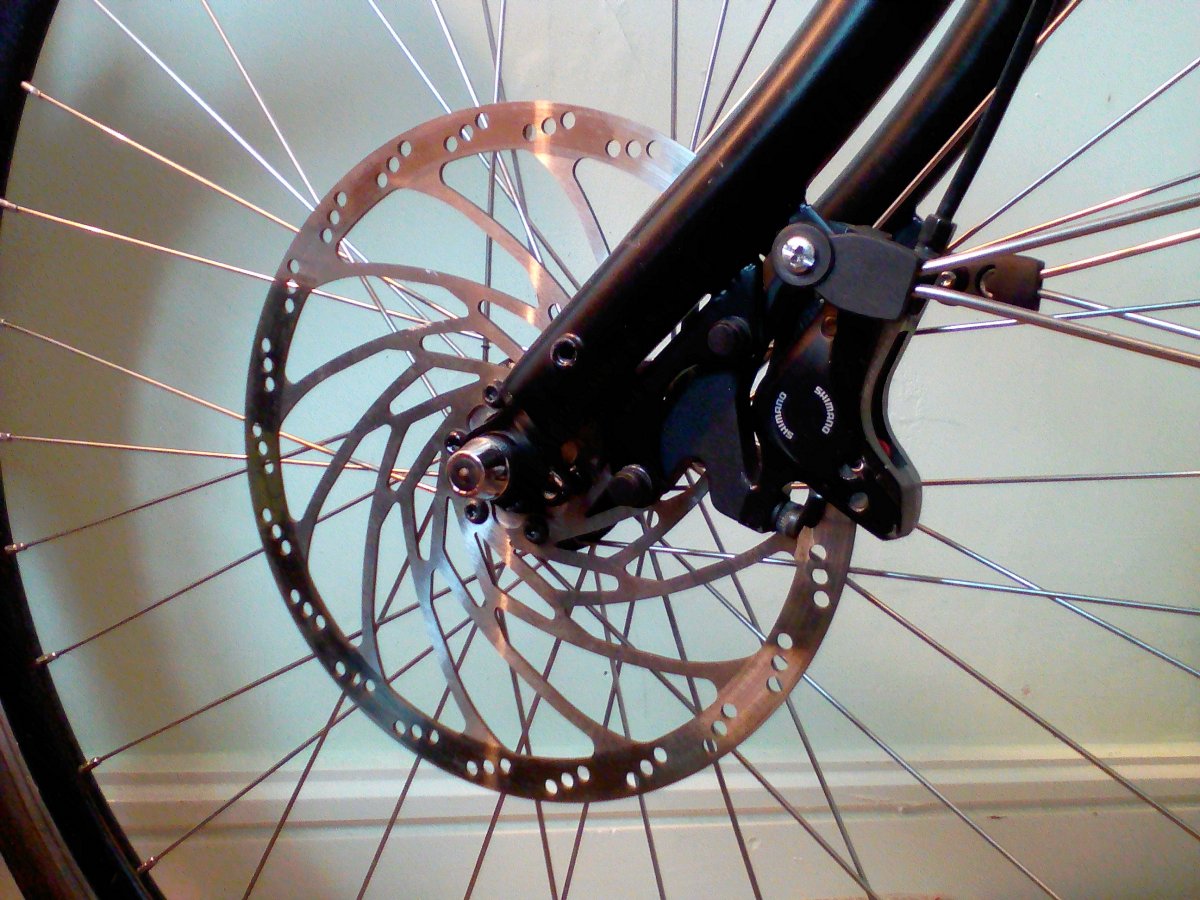
Shimano Deore hydraulic disc brake
With a 220mm (8&3/4") one piece Hope rotor. Had to alter a rear caliper adapter to mount the...
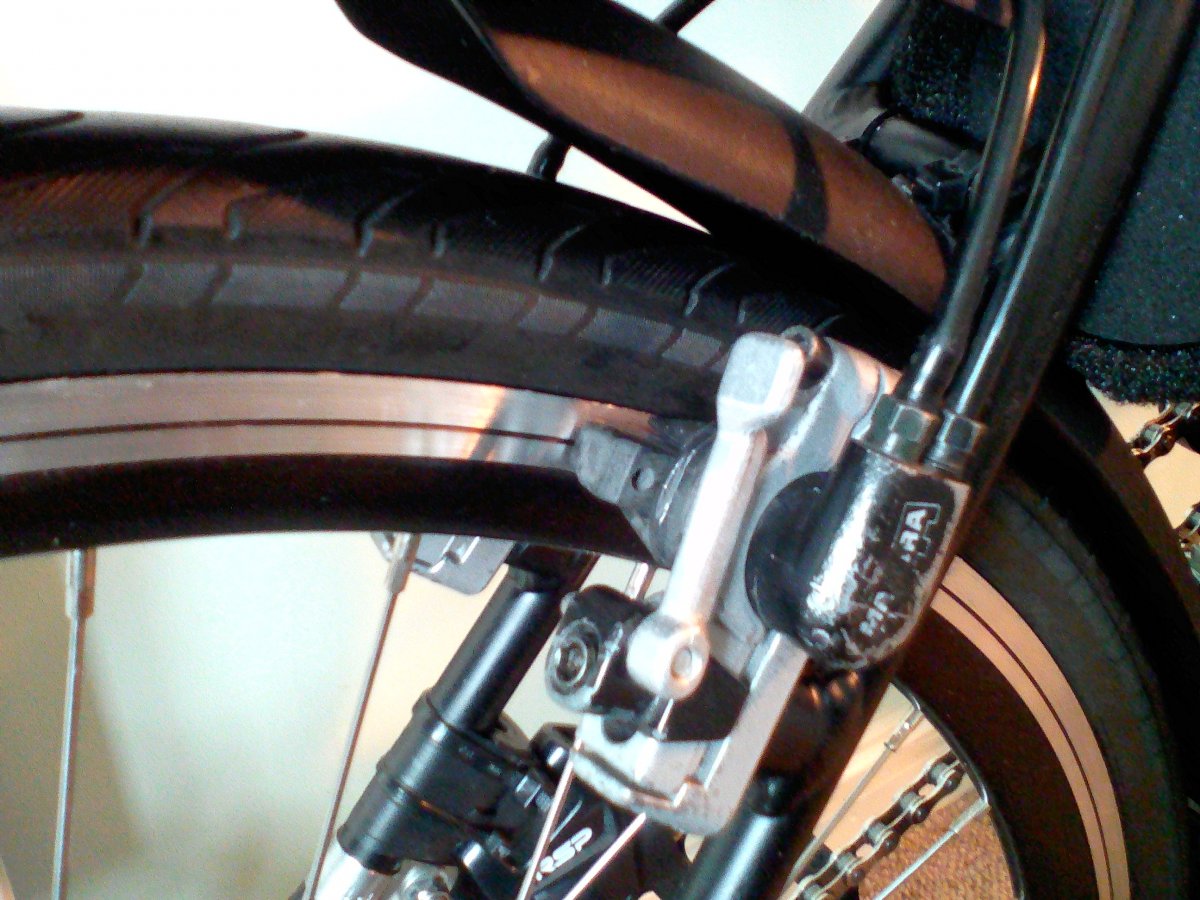
Magura HS33 Evolution hydraulic rim brakes
Bit fiddly to set up but then they're really decent, very powerful, zero drag, zero stretch, and...
Used different pedals too, because I want to keep the Shimano Saints for the D.G.C. mountain bike style build, but these are still awesome with their two sealed cartridge bearings per pedal and with replaceable steel pins.
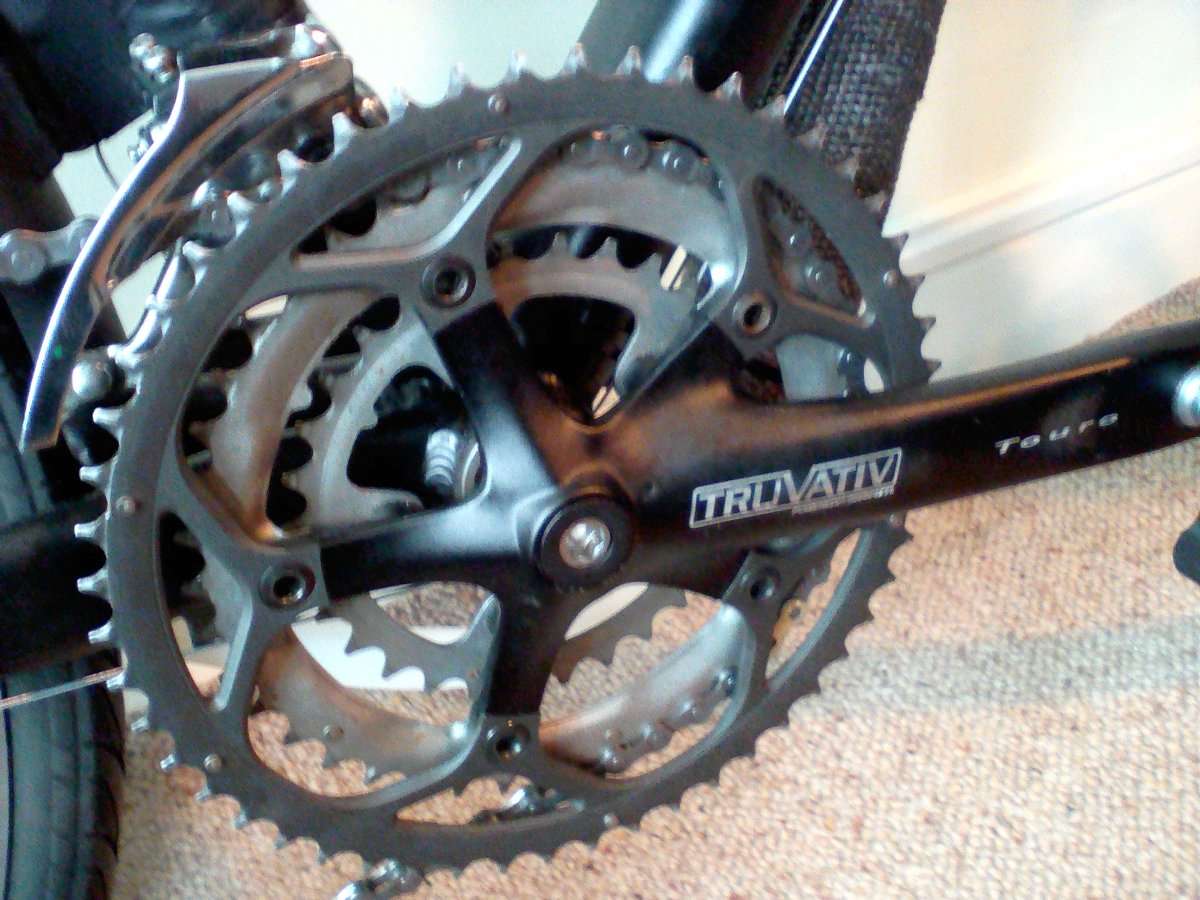
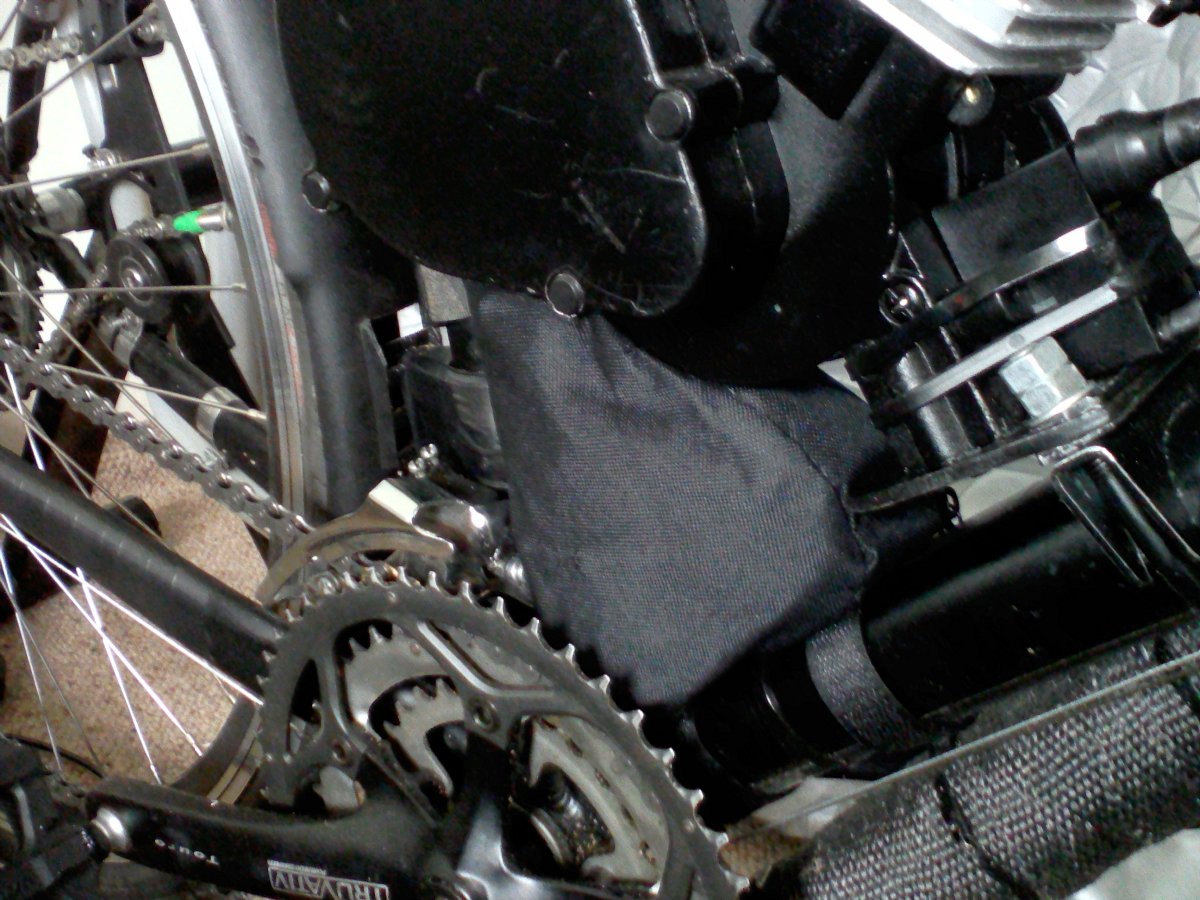
Big triple chainset
Truvative Touro, a damn decent chainset on any bike. Lightweight but strong crank arms and the...
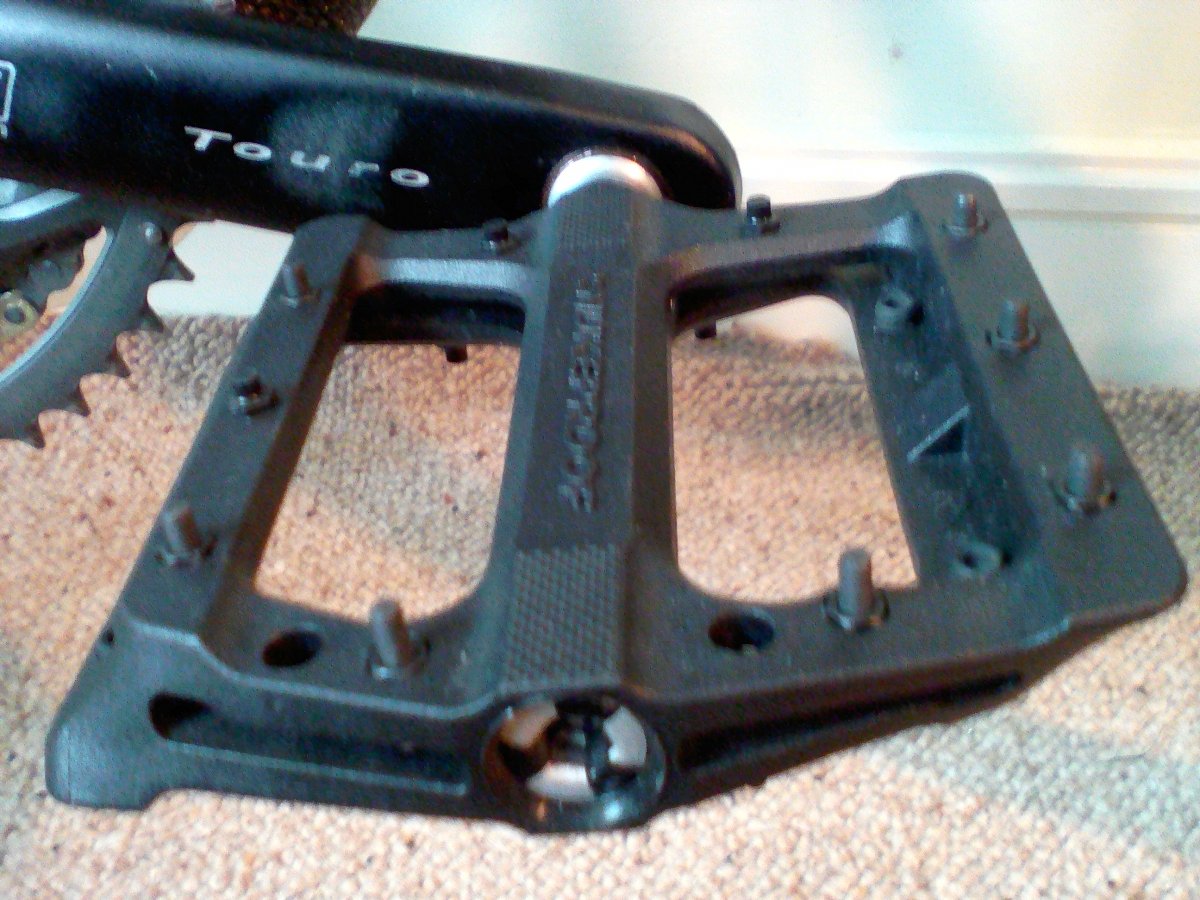
Nukeproof Electron Evo
Very thin, twisted parallelogram, composite bodies, long steel pins, and two fully sealed...
I have tried to make it a stealthy bike by using the noise moderation techniques that are mentioned in the forum. I probably have some more work to do there.
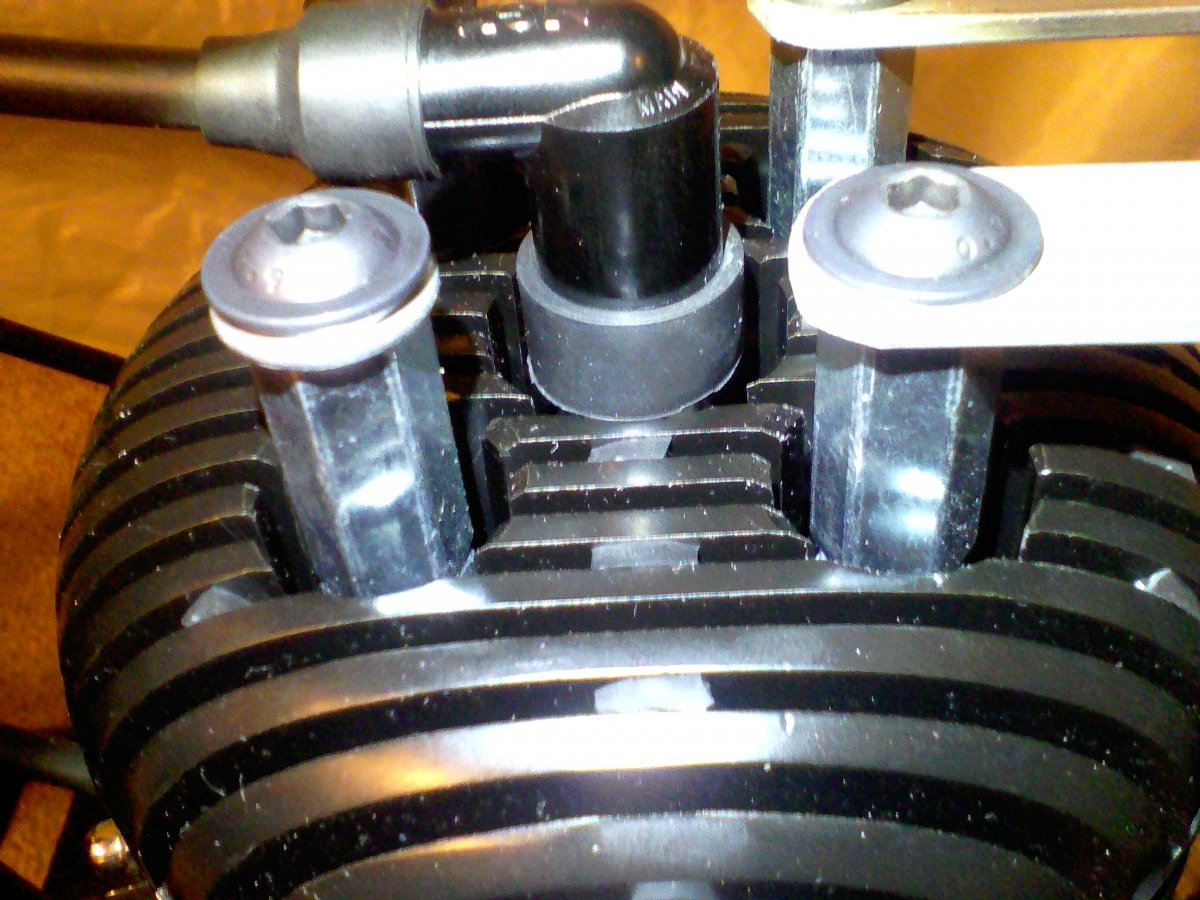
Cylinder head stealth wedges
Shoved these little chunks of silicone cut from a high temperature hose between the cylinder...
Stealth exhaust system
Finished until I change something lol! I have added a support, attached to the muffler cap bolt...
I have been trying to build a reliable drivetrain too. I hope I have done a good job.
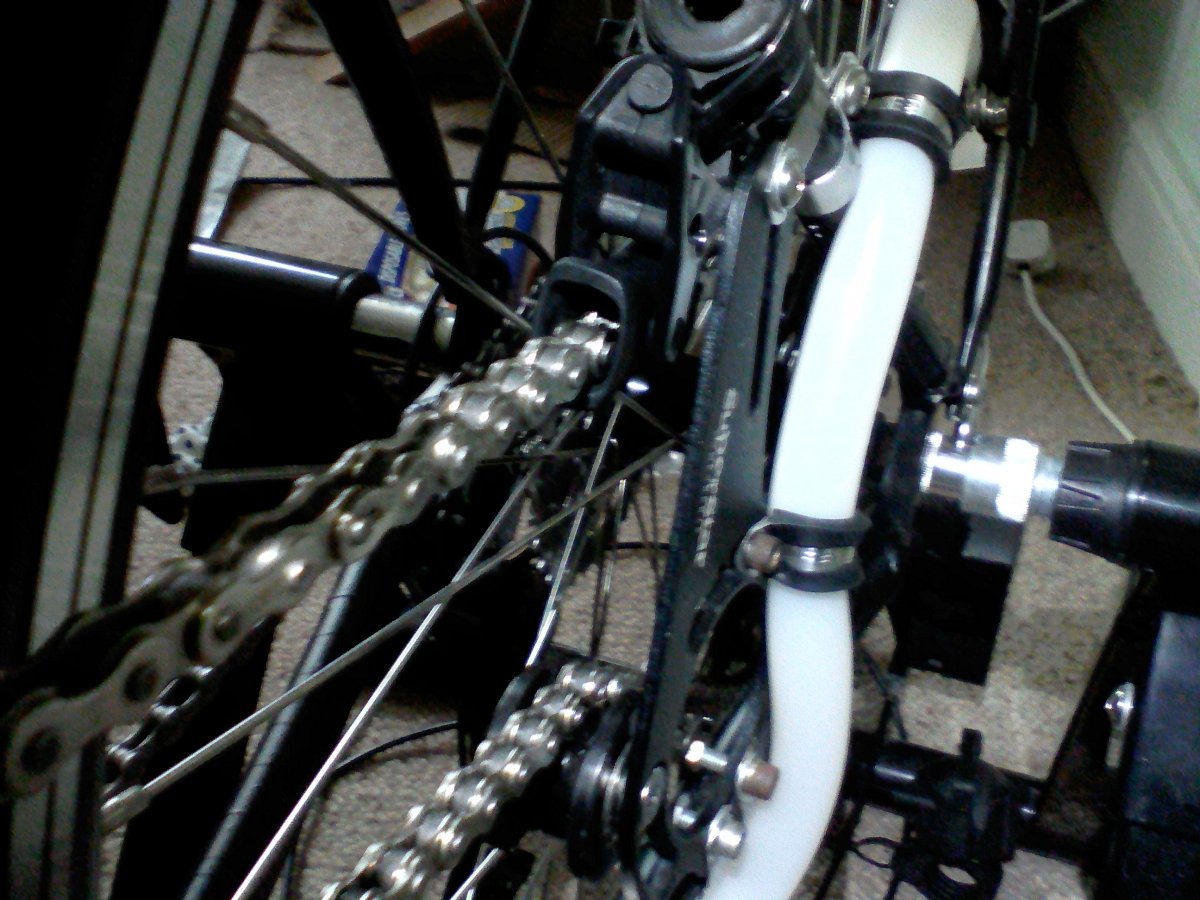
Chain controller again
A view from the front-left side showing the chain controller. It fits the #410 bmx chain...
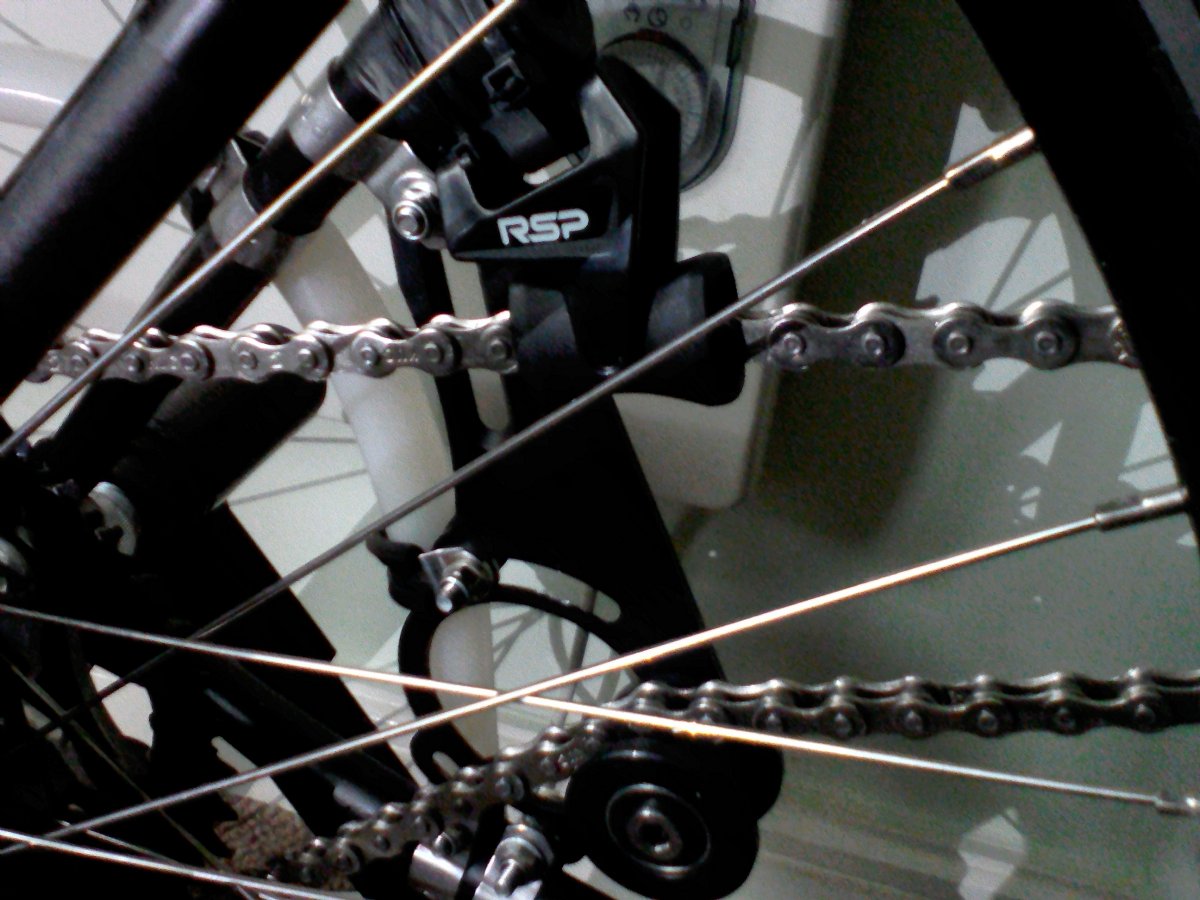
Chain controller
I needed to add an RSP chain controller due to the harmonic vibration in the upper run of the chain.
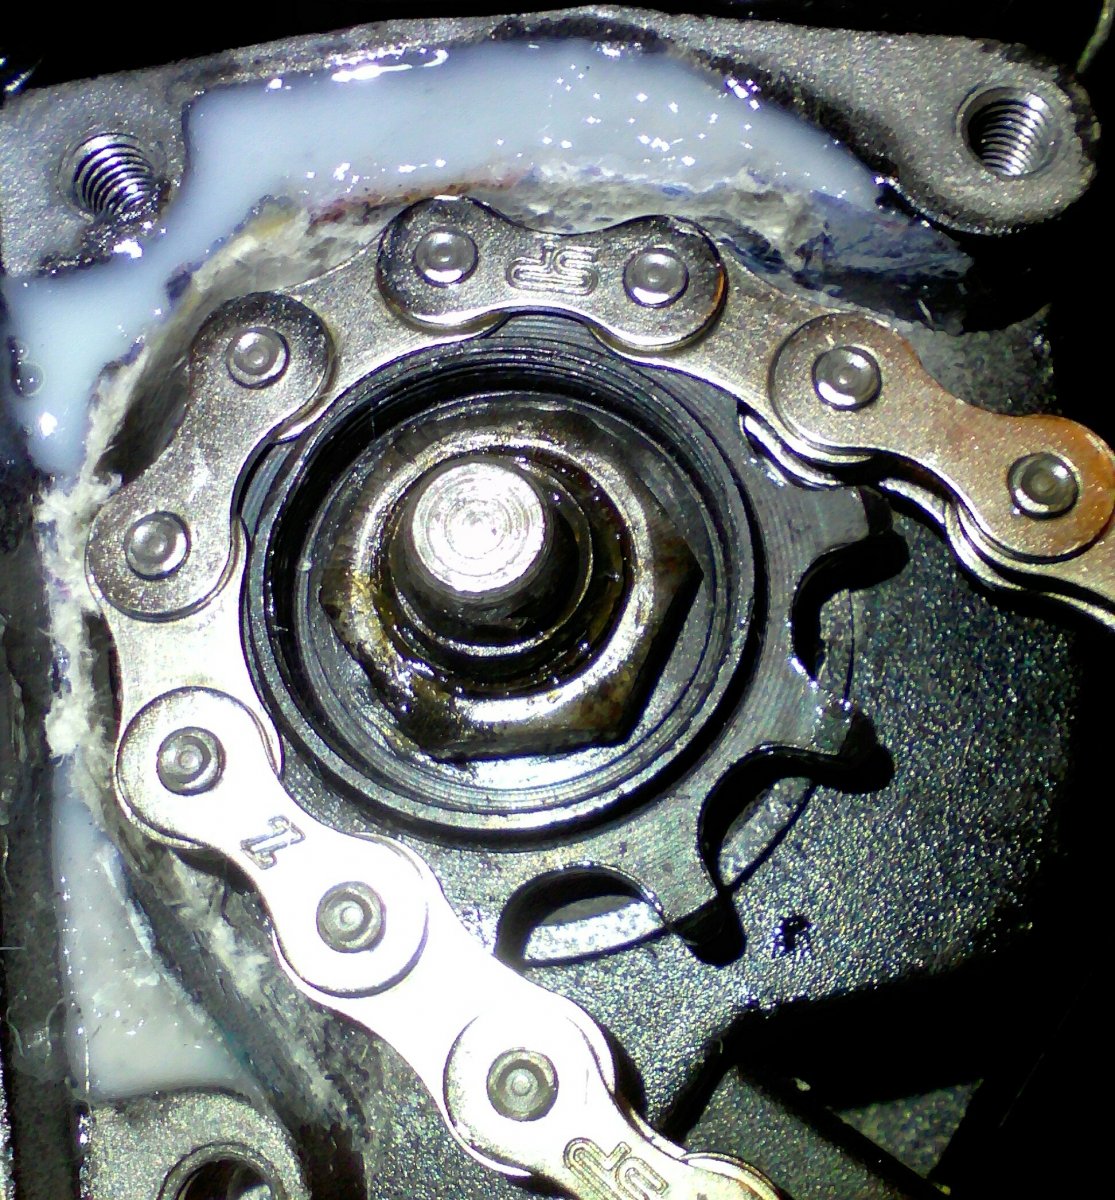
Anti-skip chain thing again
I should've greased the box to allow it to release but was worried I would touch the case and...
I have added a better head for cooling and reliability, and made a "head steady" to relieve the stress on the two lower engine mounts.
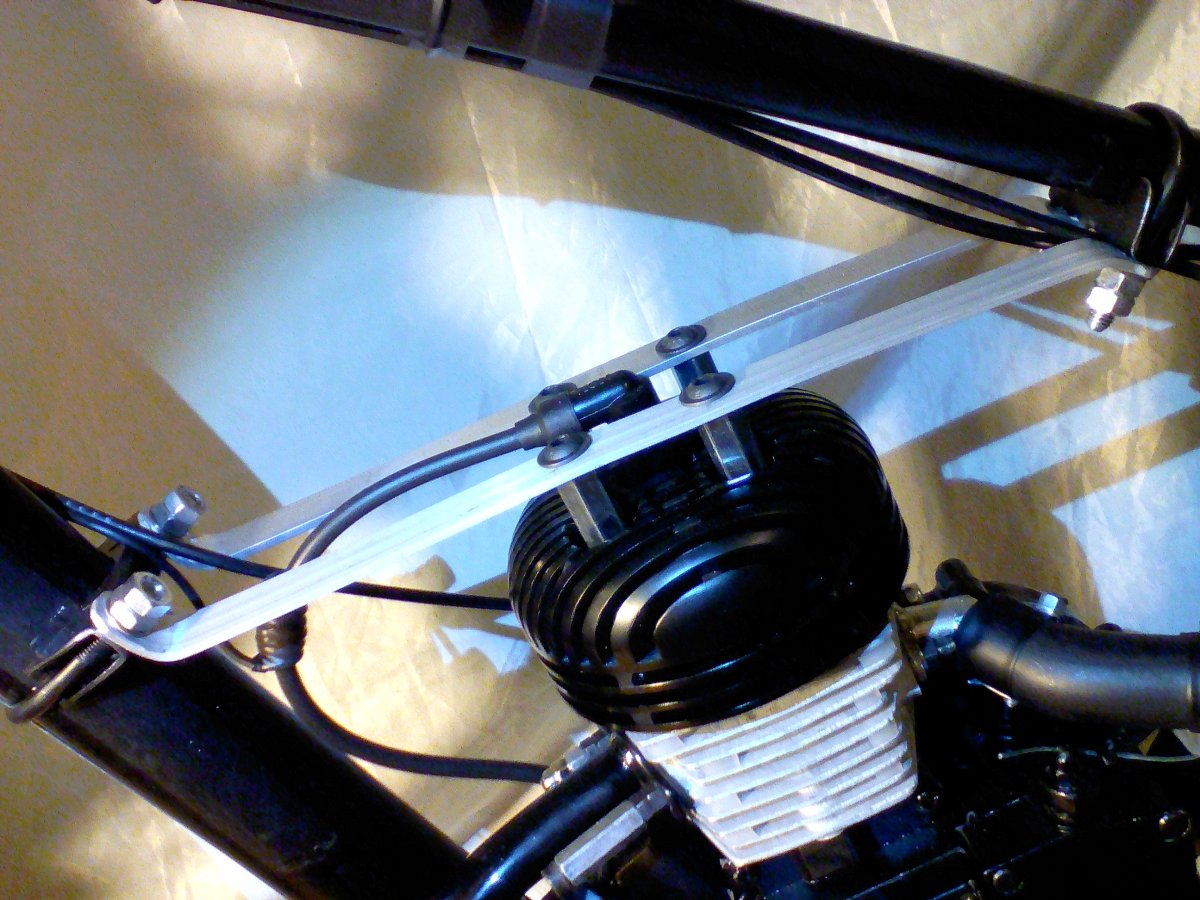
Head steady (final version?)
The proper version of what I wanted, now joins the top tube and down tube of the frame, and...
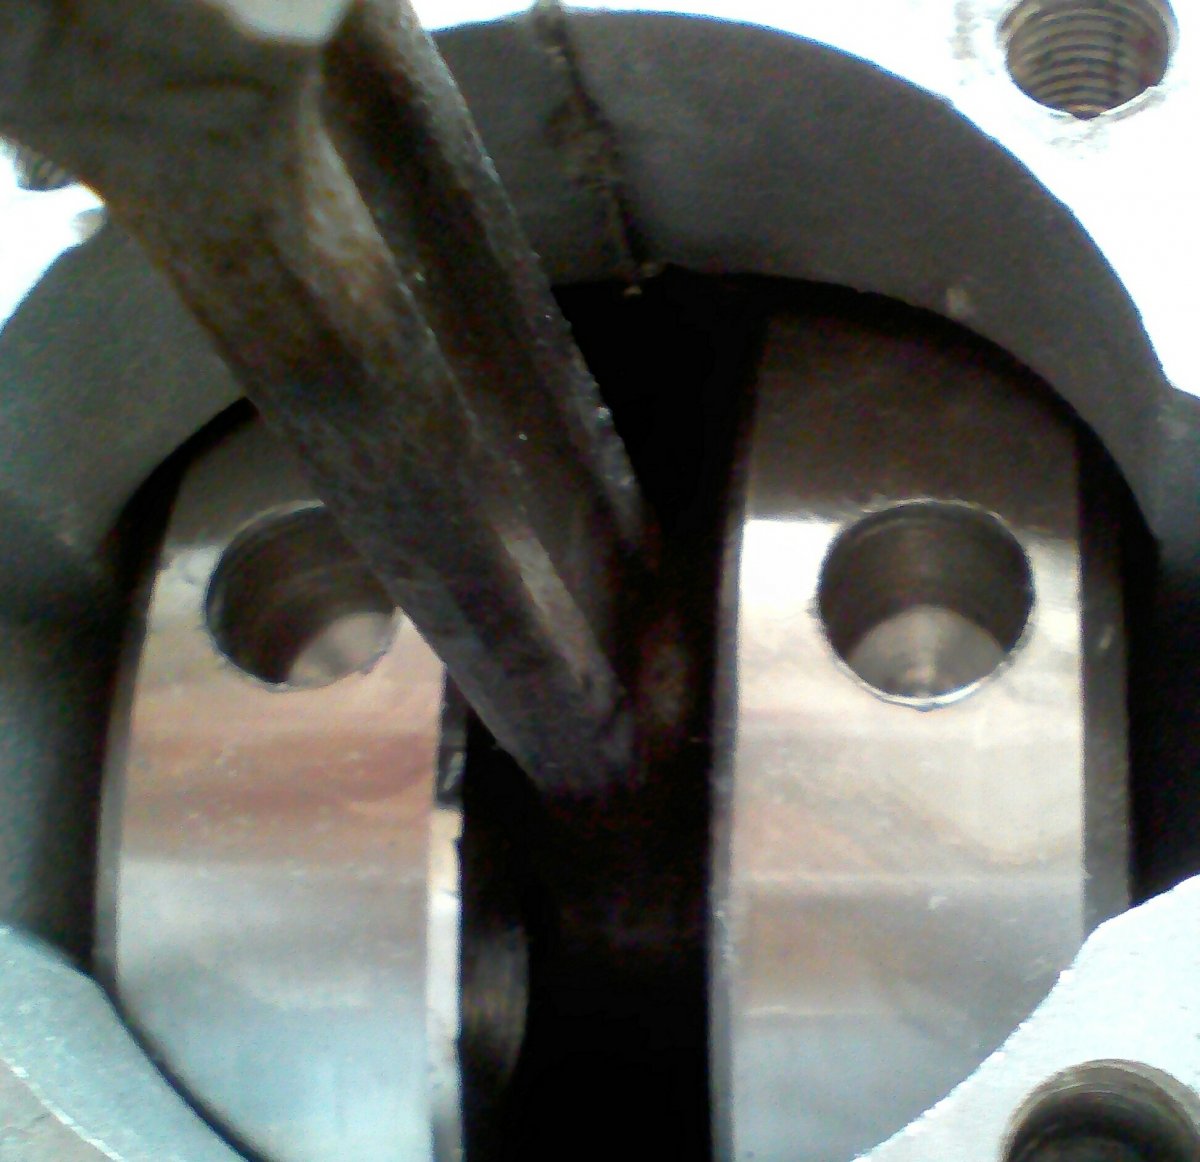
Modified Happy Time crank
Not perfect but better "balance" than it was when stock! More Happy Time less Crappy Time. ;)
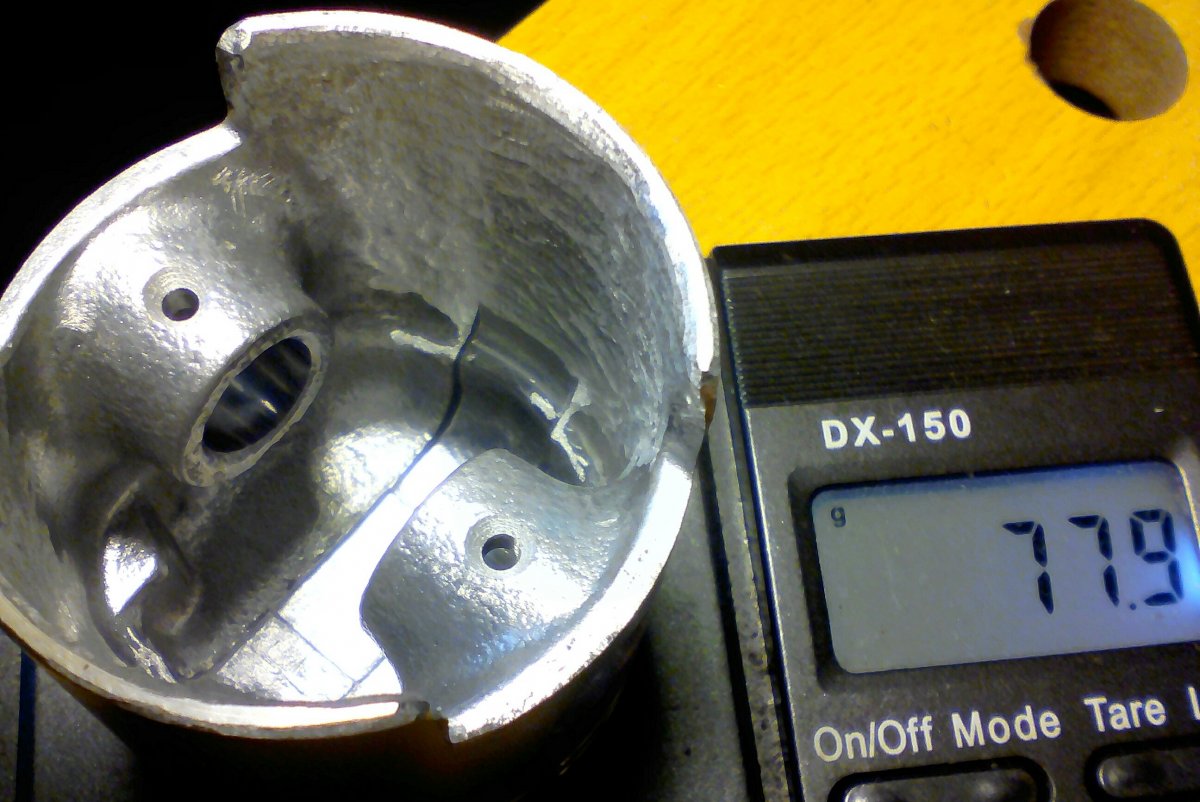
Happy Time piston lightened
I removed a total of 1.5g of material from the inside of the piston skirt, and slightly...
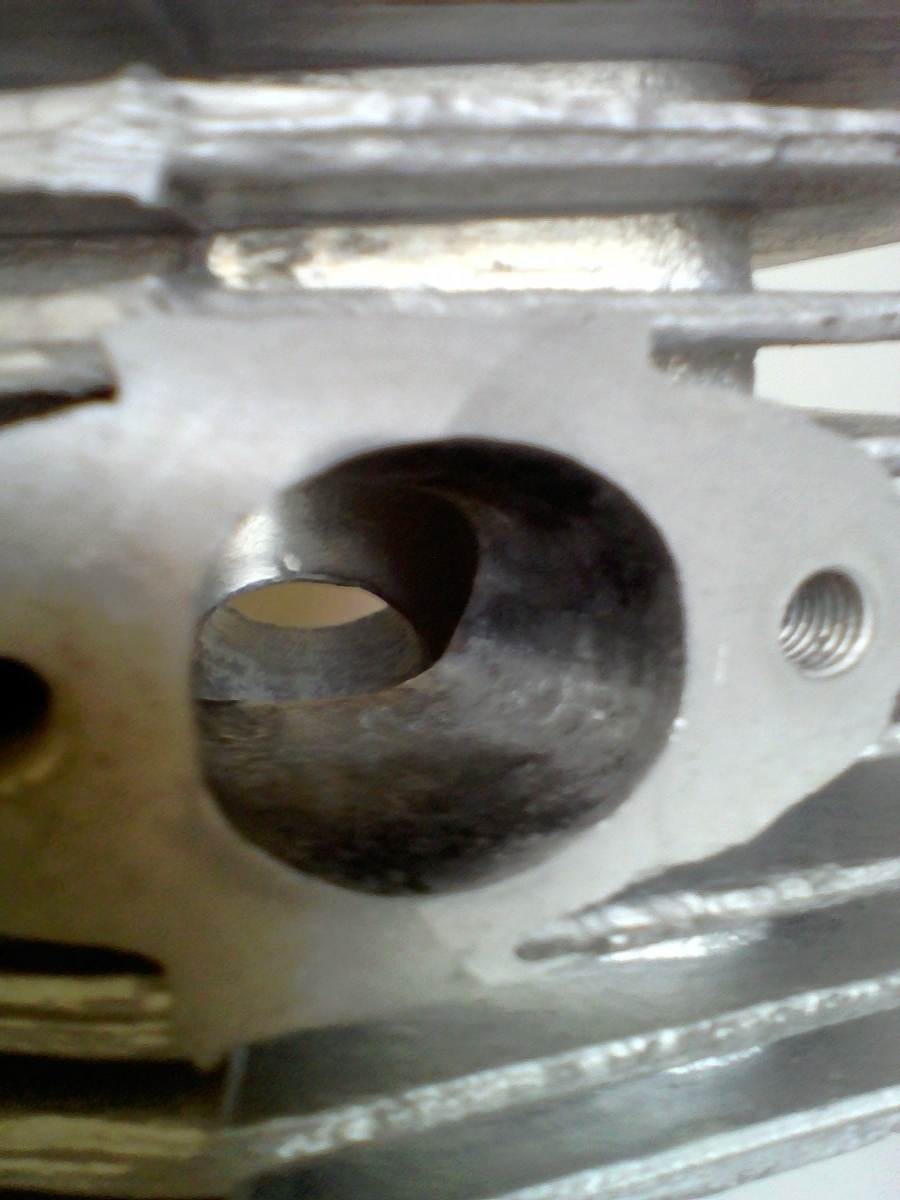
Modified exhaust port
Opened the outside of the exhaust port a little rounder, and widened exhaust window a little at...

Modified intake port
Opened up the inlet window very little at bottom and bottom half of sides. No reed will be...
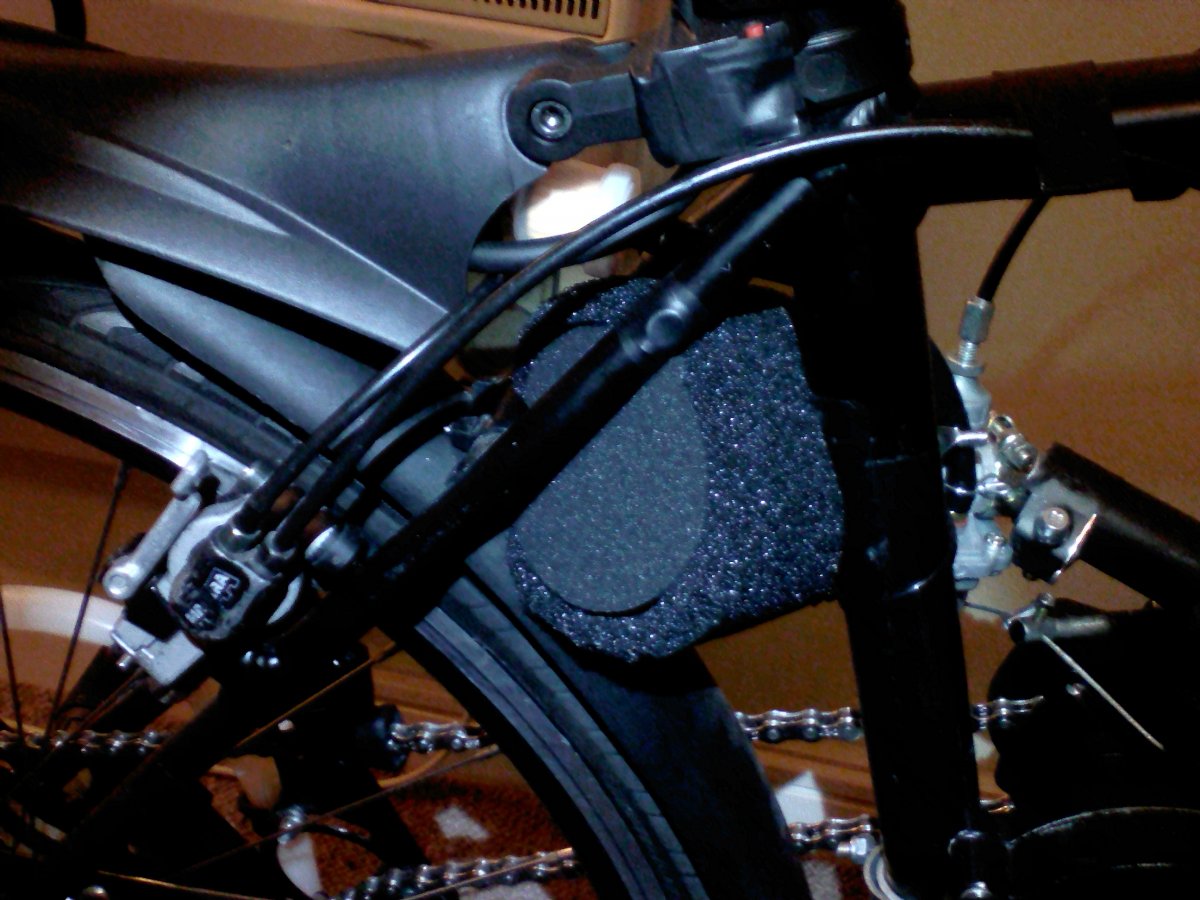
Huge foam air filter, again
A view from the RHS. Tucked in neatly behind the seat tube, I had to trim parts of the coarse...
I didn't want to use the rag joint sprocket mount but the top hat adapters are expensive to get shipped overseas. So I made my own double sprocket mount for standard mountain bike chainrings.
I got the single speed drivetrain set up without burning my bridges so I will test it like this, and then look into setting up the two speed system later.
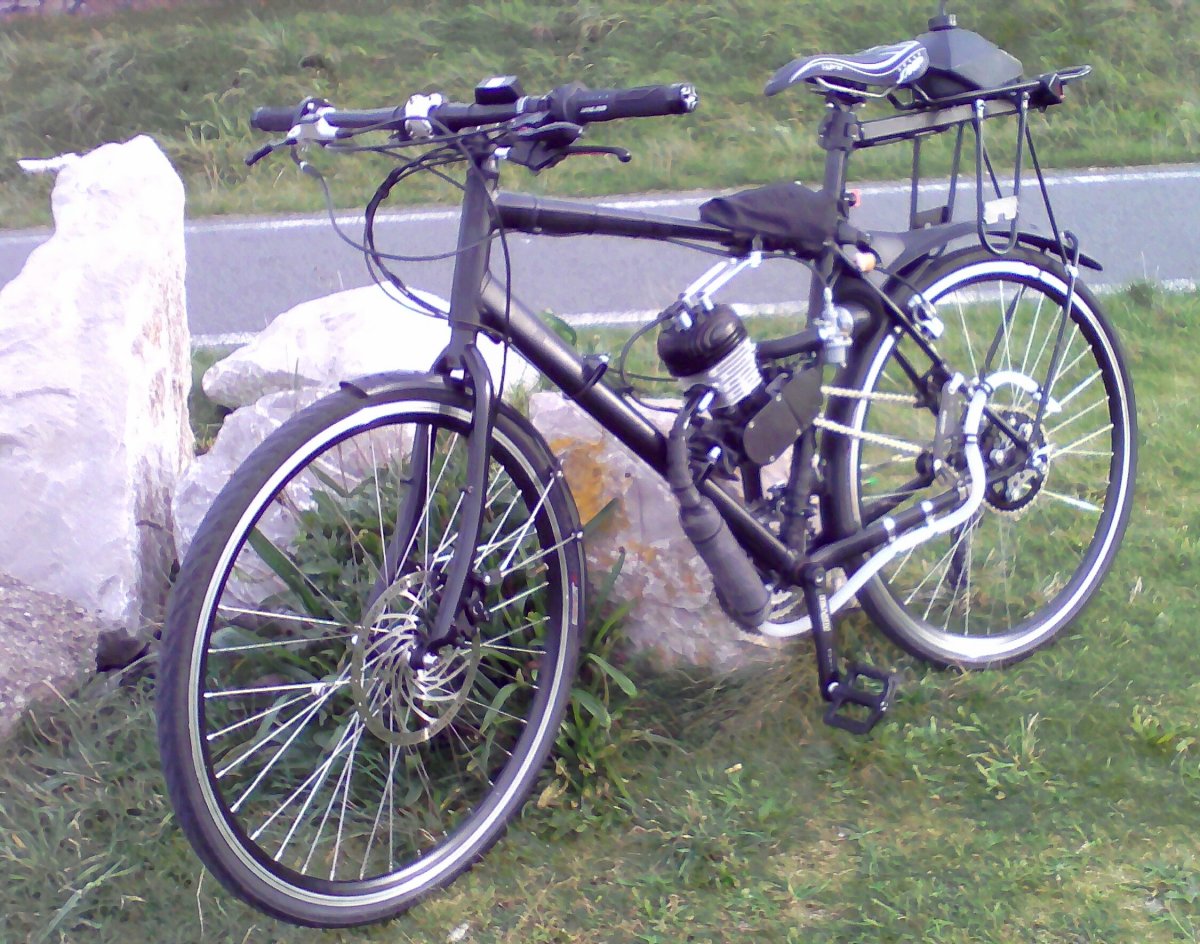
Got it outdoors at last!
Although the electrics didn't work, and the saddle needs adjusting and the brakes need some more...
I took the bike out once and couldn't get a spark. It has an upgraded spark plug wire, NGK boot and NGK iridium plug but I managed to break the thin wire coming out of the CDI. I'm 99% sure the problem is fixed now but I can't try out it due to a recent injury.
I had to fix a leak from around the fuel tank nipple when I found fuel actually dripping from it.

One litre plastic fuel tank
Made for a pocket bike or something idk, I like the "stealth" flat faceted shape, and at least I...
I have to fix some other faults I found during my first outing before I can get it out again anyway:
The plastic front fender keeps touching the tyre and dragging noisily (when will they invent lightweight plastic fenders that actually stay straight?)
The chain is never going to be quiet without a toothed tensioner pulley; but I needed to try out this "double" tensioner in readiness for my attempt at making a two speed shaftless shifter.
I should have got around to shortening the idle screw on the carburetor, it does catch on my trouser leg as predicted. I'll get to that soon.

Huge foam filter
Damn, this flows air freely!
I had to trim the outer coarse cover to fit in the frame, or lose...
I had to trim the outer coarse cover to fit in the frame, or lose...
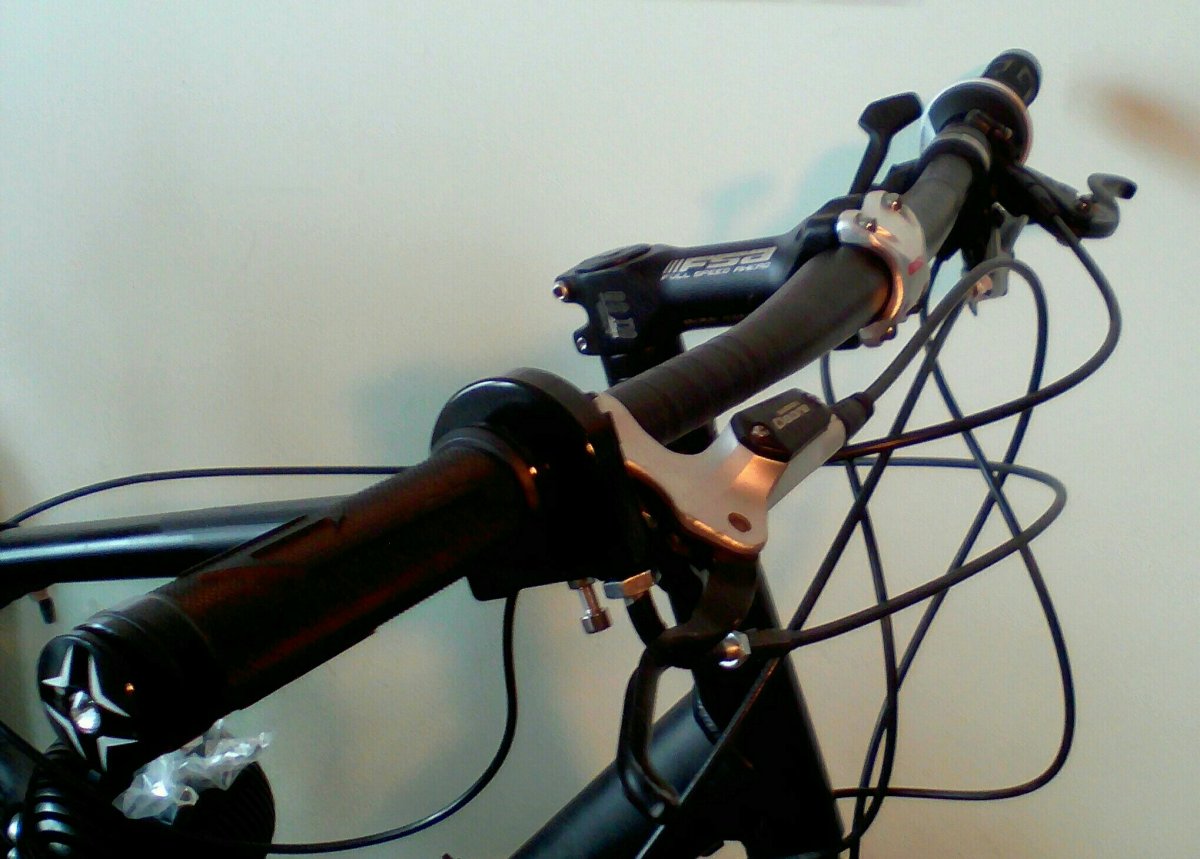
Wide straight bars
720mm bars, little sweep. The grips I got actually overhang the ends of the bars a bit so it...
I have a better rear derailleur on the way: 9 speed Shimano SLX (shadow) so I'll have to change that sometime soon, although the Acera I have is working.
Oh, and it still needs the new updated handlebar bag and side panniers.. And some good bright headlamps preferably with a bit of a bluish tint!
Last edited: