My daily commuter (first proper build)

Hi guys,

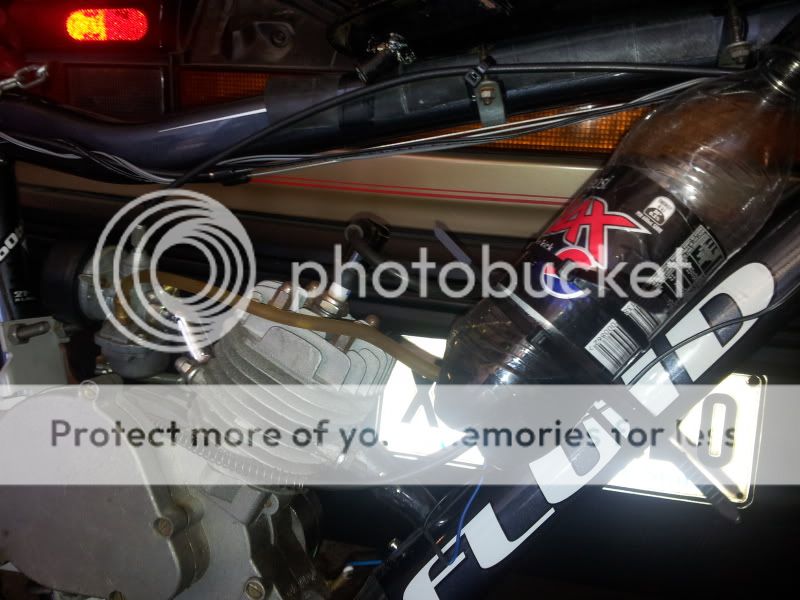
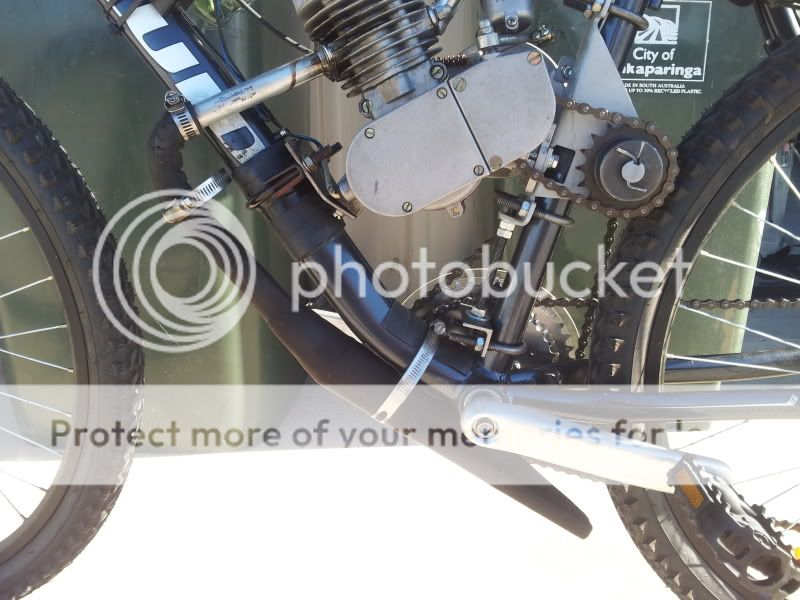
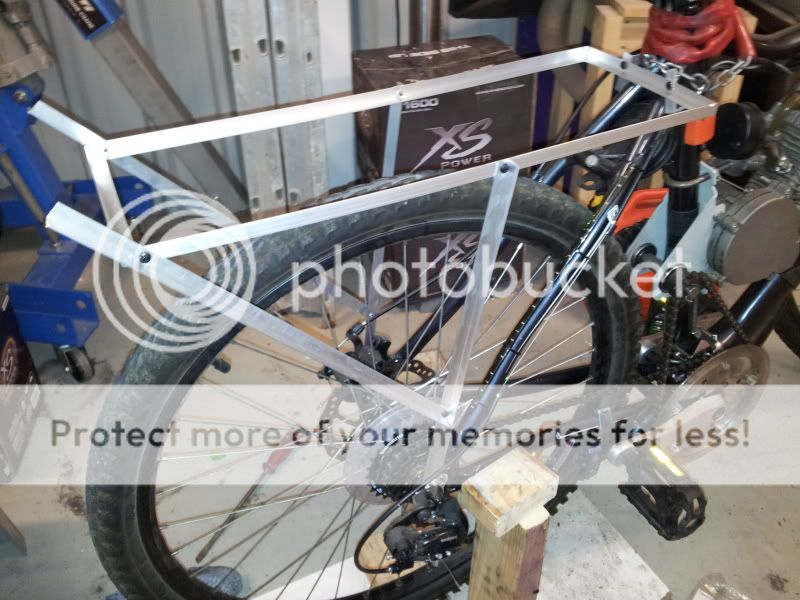
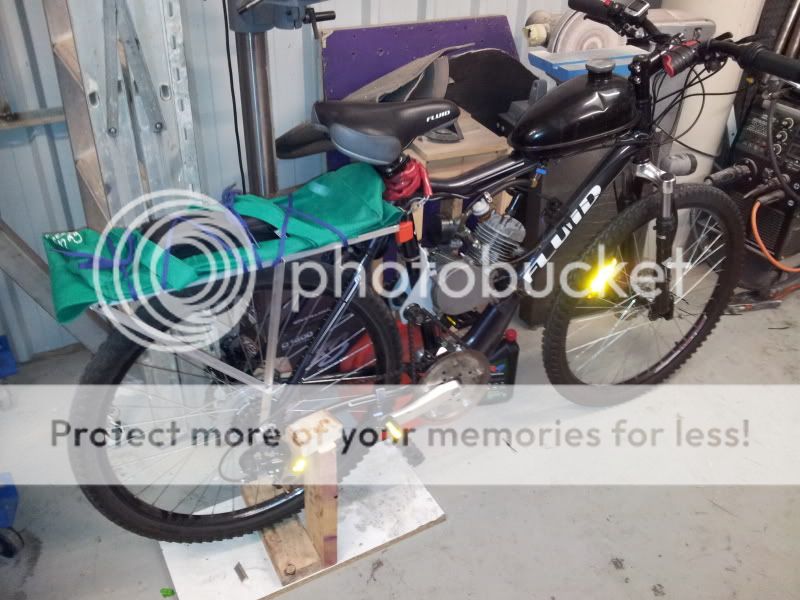
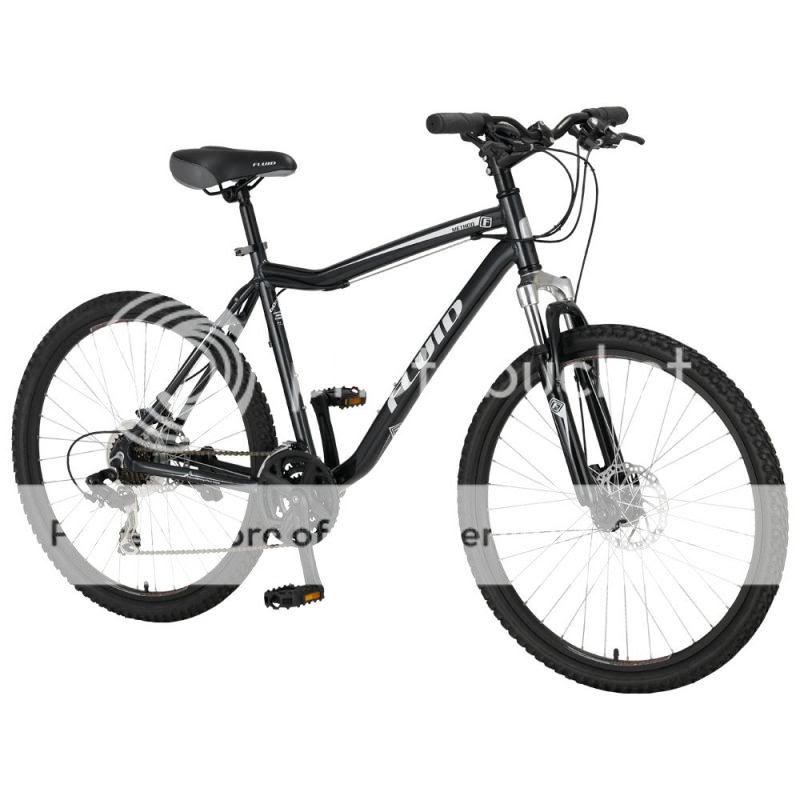
After a long and tiresome search ive finally picked a bike to start my first proper commuter build, Its a Fluid Method mountain bike, 21 speed, 26" wheels, disk brakes and front suspension.
fluidmethod.jpg


Dad picked it up for me yesterday, im getting it from his house tommorow.

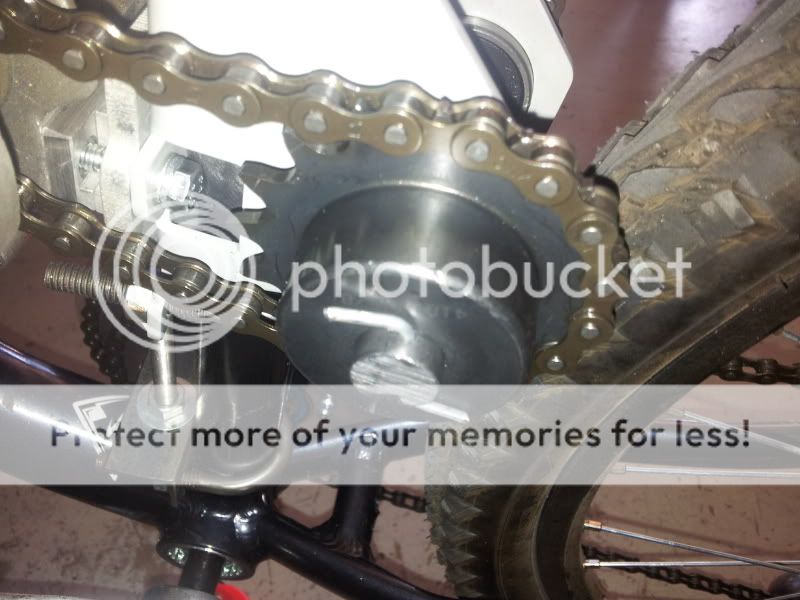
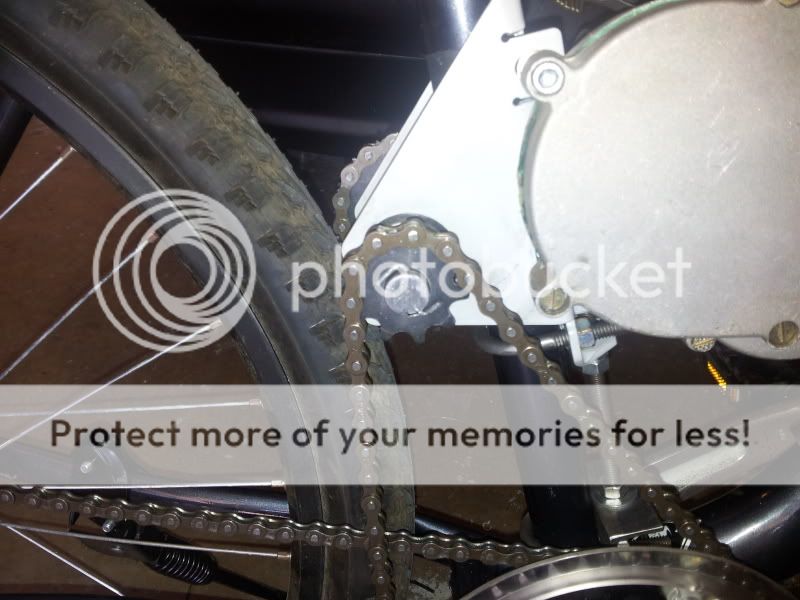
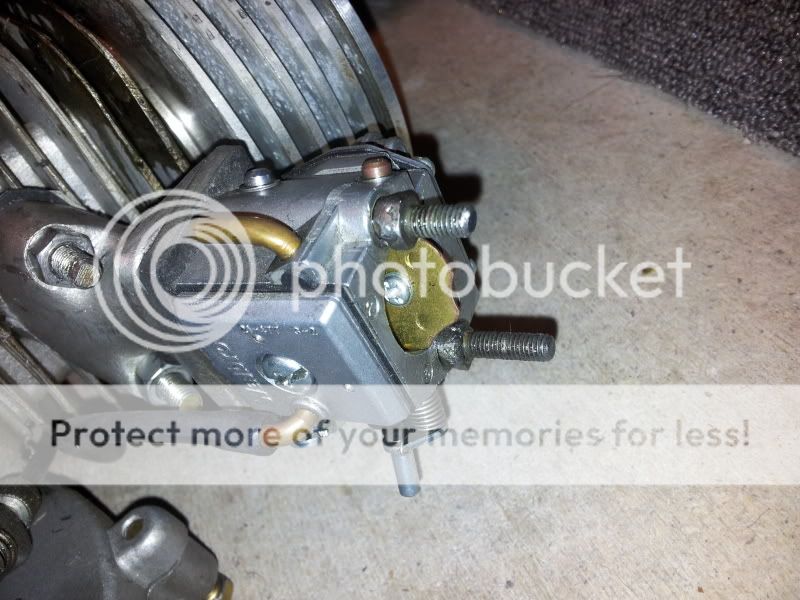
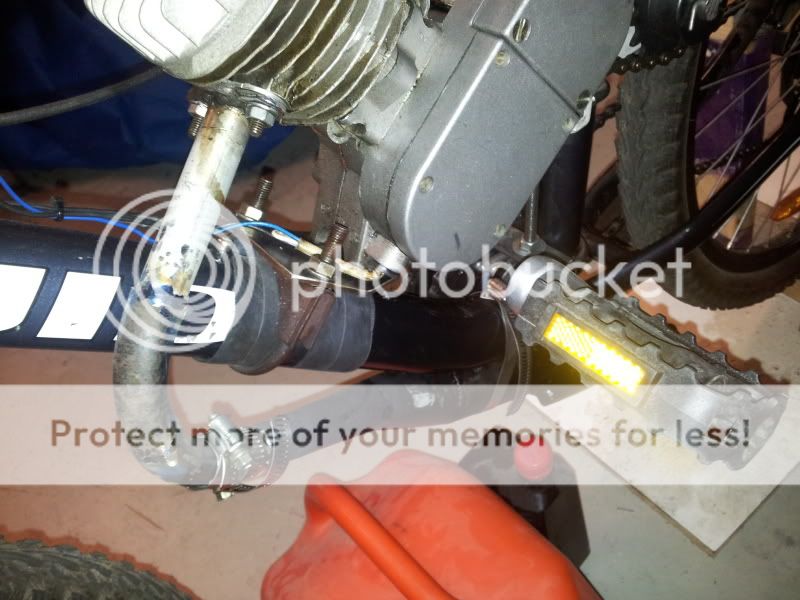
The motor will be a Z Box 49cc HT that ive had for a few years now, but with RSE clutch, billet throttle and possibly dual brake lever, and an SBP shift kit

I am also getting a friend of mine to CNC machine a "200w powermax" logo into the clutch cover and put a build plate on the magneto cover similar to what the RSE 200w motors have, ive also printed off and laminated a dyno graph of 198.4w max power so hopefully these should fool most police into thinking it is under the 200w legal limit where i live.

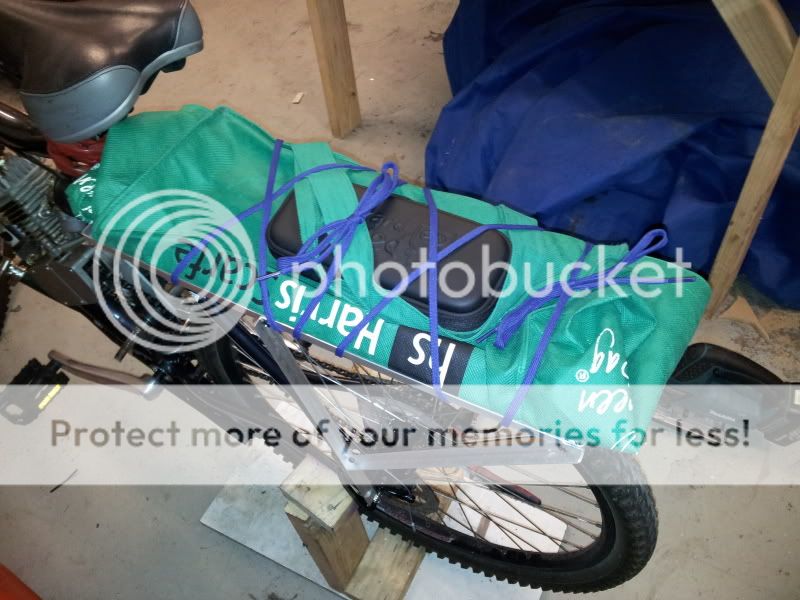
High on the list of priorities when i get the bike are also front and rear lights, some kind of horn, and a nice comfy seat depending how it feels.

Thanks for looking, il get some pics of the actual bike and motor up tommorow if i have time :)
 
Hi guys,

I got impatient so dodgied some things up to get it running... but im getting ahead of myself :p

first i made a new front engine mount adapter:
2013-01-11113024.jpg


2013-01-11115034.jpg


I snapped the fuel tap off the tank while riding the other day, so i had to make a makeshift tank from a pepsi bottle and some cable ties:
2013-01-11103222.jpg


2013-01-11103229.jpg


Then i connected the throttle cable to the spare brake lever on my shifter with some more cable ties... before hooking up the CDI and taking it for a spin.

Obviously it doesnt run very well with no exhaust, it wont idle at all but goes ok at higher revs with the choke set right. After a 5 min ride around the block lots of things had come loose, so i tightened the chains back up and redid all the bolts, and driled a couple of small holes in the driveshaft for pins to hold the sprockets on:
2013-01-11103244.jpg


2013-01-11103156.jpg


So far so good, just need to make some chain tensioners now, finish the exhaust, get the throttle cable holder/killswitch, and get a new fuel tap :)

top speed so far is 57kmh according to my GPS, im impressed considering how much is left to get it running right!
 
Hi guys

did a bit more fiddling yesterday, i found a bit of pipe on my old car that was just the right size to temp mount the expansion chamber, it makes the header around 19" long to the expansion chamber, is this the right length?
2013-01-12154550.jpg


Runs much better now and it actually idles, but i still need to constantly adjust the choke depending on speed and throttle use, at higher rpms i need to open the choke up more to stop it 4 stroking and at lower rpms i need to close it or it bogs down, what could be the cause of this? the average mixture looks ok judging by the colour of the spark plug, im using 20:1 fuel

thanks for looking
 
Hi guys,

Been a while since ive posted, an interstate working trip for a couple of months and no internet for a while made sure of that... but im back!

a few upgrades on the bike over the passed couple of months, i did some experimenting with the exhaust and found changing the header length moved the powerband around, after a few tries i got a powerband i like and gave the expansion chamber a lick of matt black paint to give it a bit more of a stealth look:
2013-01-20182236_zpsb346b483.jpg


I also got another package from SBP with a new fuel tap, a muffler (the expansion chamber is louder than id like even with belly mounted stinger) a new twist shifter, and some tools.

I also found another bike with an engine at the dump, it had a home made shift kit very similar to the SBP one as well as some other wierd custom parts, a larger tank and a walbro carb that seems to be missing some bits but might be salvagable (is it worth it or should i get a new carby thats better?)
2013-04-02020321_zpsb406a763.jpg


2013-04-02020347_zps4a856c1b.jpg


2013-04-02020331_zpsae1c4ff8.jpg


first to go on was the new fuel tap along with the bigger tank and a cheap fuel filter i got from the local auto store:
2013-04-02021149_zps7e4c6c15.jpg


I also remade the exhaust with steel tube as the rubber i was using was slowly perishing with the heat and had started cracking and leaking (it was only ever a testing material anyway), it still needs a couple of adjustments and another lick of paint:
2013-04-02021205_zpscef781d6.jpg


And finally made up a small tool kit with most of the things i need while on the road, just need to add a few cable ties and some puncture repair gear now as well as find a decent bag to store it all in:
2013-04-02021516_zps8b3a3e70.jpg


Plans for the near future are a rack for the back as carrying shopping bags swinging around on the handlebars is quite dangerous and finding a way to mount my new 2500 lumen cree LED torch to the handlebars as with the speeds i can now reach the small torch on the front is not adequate :(

Thanks for looking
 
Hi guys,

Went for a ride today to a friends house and on the way home i hit a bump which bounced the chain of the front sprocket :(, it then got caught up in the bolts holding the front sprockets together and jammed up
2013-04-09231527_zpse9e121a3.jpg


broke a couple of links and bent a couple more but luckily that was all the damage, should be able to take out the broken links and not have to get a whole new chain hopefully
2013-04-09231447_zps64e844ae.jpg


clearly the jump stop that comes in the shift kit but i havnt got around to fitting yet is a necessary addition!
 
Hi guys!

Today i took out the few broken links in the chain and straightened a few bent ones so its all back in running order again, i also fitted the chain jump stop finally so hopefully it doesnt happen again lol...

I also got a pencil case that happened to be the perfect size to store all my tools in for the bike:
2013-04-10151747_zps676b9fb8.jpg


Then i went to the hardware store and got 2.4m of 15x15x1.4mm aluminium angle and set to work making a rack for the back so i can carry things safely :)

Basic frame made up using the mounting points behind the seat and near the rear axles:
2013-04-10171115_zps829209f2.jpg


Trimmed down and filed nicely on the edges:
2013-04-10172935_zps0f877e80.jpg


Then i added a 3mm mdf top and strapped down my shopping bag and toolkit with some shoelaces i had laying around, i think i might drill holes in the MDF to thread the shoelaces through so i dont lose them, either that or swap them for elastic straps with hooks to make it quicker to tie things down:
2013-04-10174040_zpsbcb5f618.jpg


The overall picture so far:
2013-04-10174105_zpse739b85a.jpg


Its surprisingly light and strong, i doubt it would even weigh 500g and id be comfortable putting up to around 30-40kg on it without fear of it breaking (id be more scared of the handling consequences)

Thanks for looking!
 
Hi guys,

Went on my first long journey this weekend! approx 40km into the city (i live in the suburbs) on Saturday night and back again Sunday night.

No major hiccups, only had a few problems with the chain (the extra tensioner i put on the bottom to reduce the "slap" over bumps meant when i shifted into 5th 6th or 7th the chain jumped off the front sprocket, luckily i was carrying tools to put it back on, i will have to rethink the slap stopper now so i can use all of my gears.

Also lost one of the bolts holding the new rear tray on at some point, will have to find a new one then locktite them in

The torch on the front is nowhere near bright enough for high speed use at night either so im looking into brighter more power efficient lighting now
 
Hi guys,

Turns out i didnt have a few problems as i thought on my first epic journey... i not only lost a bolt from the rear tray but also one of the exhaust bolts and the tap from the fuel tank (my brand new SBP one not happy :S) and the spark plug, chain tensioner and a couple of other bolts were loose, so today i set to work installing the SBP hardware kit i got a while ago...

First to come off was the magneto and clutch covers which i decided to polish up while i was at it, took a fair while to get the casting marks out but they are coming up nicely so far, still need a bit to go though:


I also added a coat of spray on body deadener to the inside of them to hopefully quieten the motor down a little bit


Then i reinstalled them with the new hardware (still needs more polishing but i had to go for a ride):


I also installed the new exhaust bolts and added some gasket goo to stop the small leak i was having, then chucked on an SBP sticker...


still have to do the new intake studs and the output sprocket cover but they are holding up fine for now, all of the bolts i replaced/tightened i also added some loctite onto so hopefully they wont come loose again :)

Thanks for looking (does anyone actually look in here?)
 
Thanks trydrew, i have nearly lost enthusiasm a few times when it wont run right or something breaks (again) but persistence definately pays off in the MB game! (as im sure Fabian will attest to) the more i play around with it and replace parts the better and more reliable it becomes...

Having said that i didnt have a very good weekend, after fixing up the main drive chain and adding the jump stop i havnt had any problems with that but after leaving for a ride to a friends house on friday without double checking the chain tension on the right side of the motor it decided to jump off about half way there, luckily i had my tool kit with me so it was a simple task to put it back on but unfortunately i overlooked a bent link so 30 seconds further down the road it snapped and fell off again, which left me pedaling an hour through less than favorable weather :(, Then while going over an undulated section of the track my headlight mount decided to snap leaving me blind, cold and tired by the time i got to my friends house

Its all fixed an back together with a new chain and stronger headlight mount now though so hopefully i will have a few more miles of happy motoring till my next inevitable breakage!
 
Back
Top