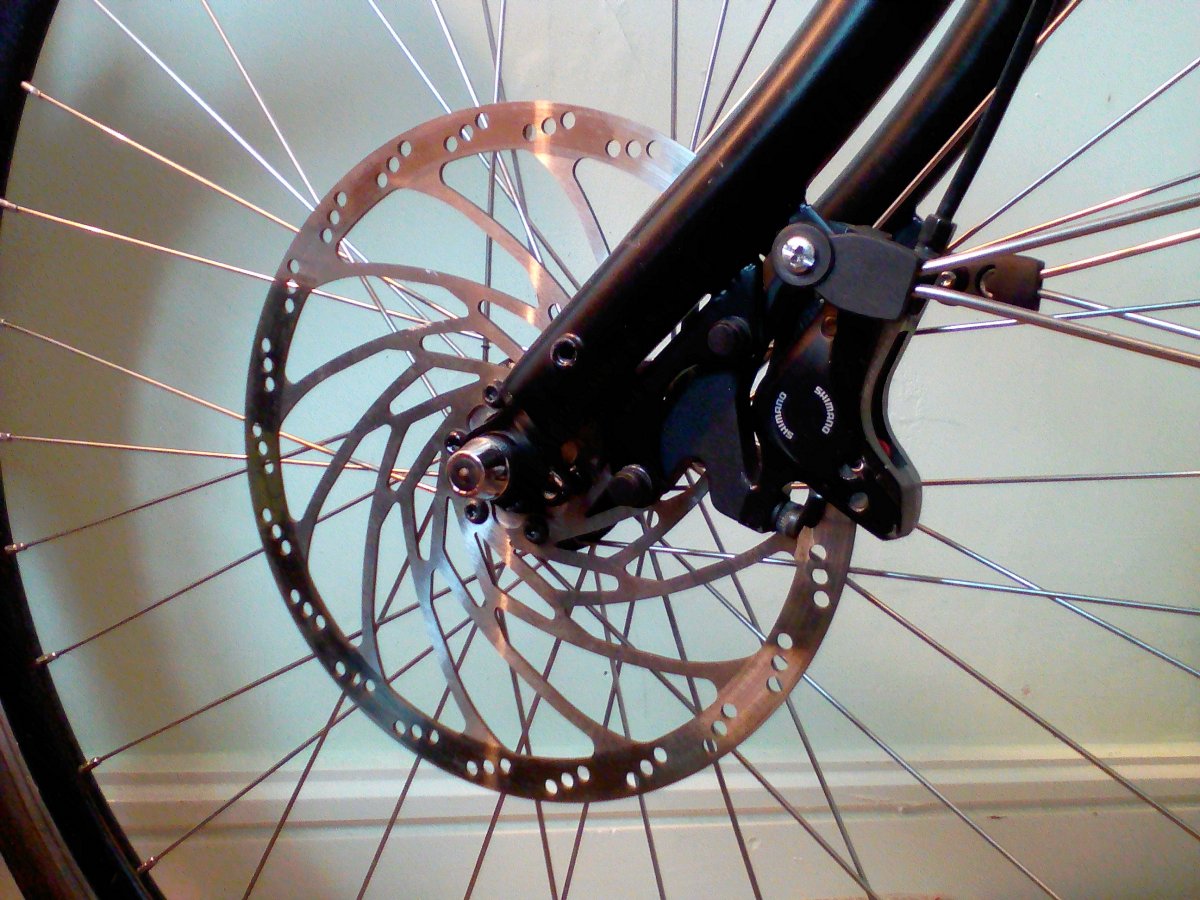
My journey began late last October when I came across an ad for an engine kit for a bicycle. As a kid I had always dreamed of motorizing a bicycle so when I saw the ad from zoom cycles I thought I have an old Raleigh bike I can throw the motor on and I ordered the kit from Zoom cycles and my journey begins. My kit arrives in a few days and I start my build knowing nothing of these engines or motorized bicycles. Thru lots of research thru this forum and other websites and YouTube that there are different engines and more to it that just installing the kit. Quickly I also find that my original plans of using my old Raleigh not very practical without alot of modifying and machine work. Not to mention Raleigh has it's own thread sizes. So I abandoned my old Raleigh ( I have new plans for it now lol) and went and bought a Columbia Rambler from Walmart. It started of as a single speed cruiser. The first thing I did was completely strip the bike and replace the wheels and bearings. I replaced the headset and bearings with a higher quality Japanese set, I also replaced the bottom bracket with a sealed cartridge unit. I replaced the single speed sprocket with a shimano 5 speed cassette, I want to go with a 7 speed but couldn't get it to fit between the rear for stays. I already had to spread the frame quite a bit to get the 5 speed to fit, I had to replace the rear axle with a longer one without shoulders on the inside so I could adjust the offset on the mag wheels. My zoom cycles engine turned out to be a ZAE50 engine. I have complete taken apart and replaced the bearings with skf 6202, I port matched the case to a 40mm cylinder I got from boygoesfast, port matched the cylinder and ramped and skirted the piston, and installed a jaguar cdi, installed a jackshaft and custom made exhaust and gas tank. Now I just need the weather to cooperate so I can get it out and break it in and get the carb set up and figure out what carb I'm going to use.


My First Build, My Journey So Far
- Thread starter GreasyChris
- Start date
 )
)


Similar threads
- Article