The bracket looks nice but in their video and on the website they say it won't work with my style of frame. I do not have drop out frame.You may be able to use these adapters...I would advise that you be ready to drill a hole in each one that will hopefully be able to match an existing hole in the frame dropouts though for stability so they do not shift on you.
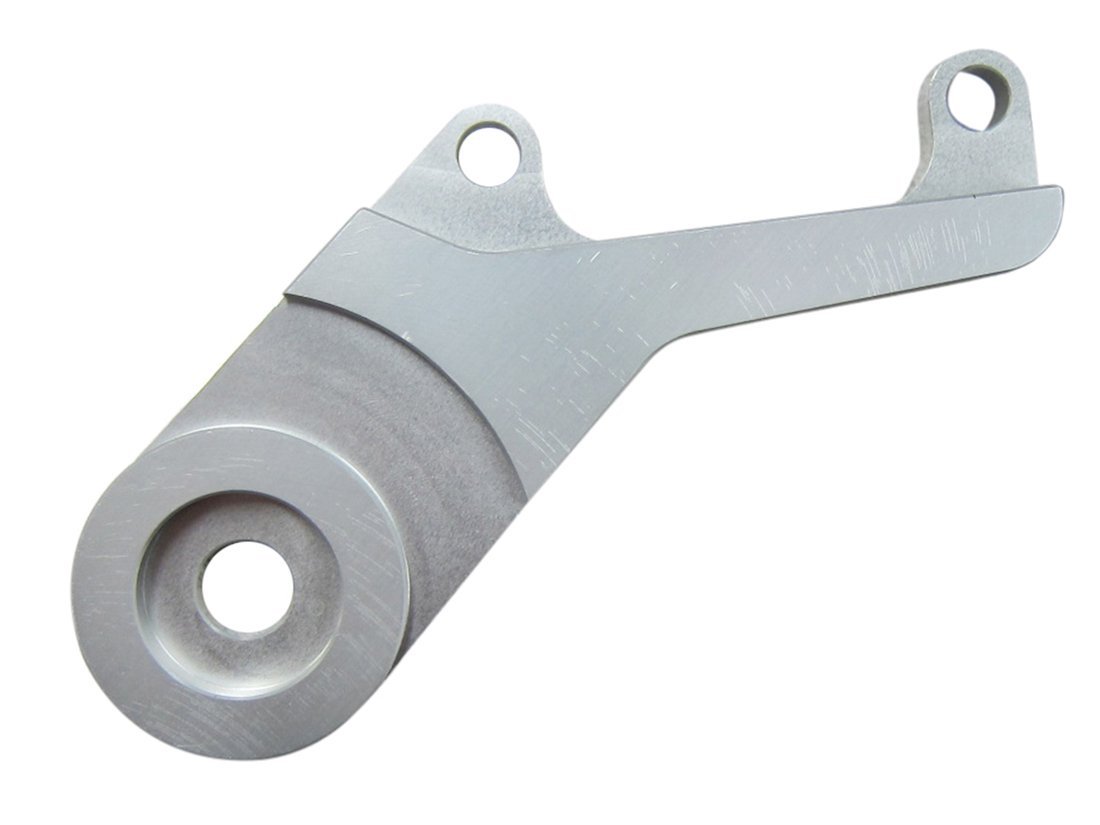
BBR Tuning Billet Aluminum Disc Brake Caliper Bracket
This works with motorized or standard bicycles and allows you to install a disk brake if you don't have the necessary mounts. No more rim or coaster brakes.www.bikeberry.com
On my bike, (steel frame ONLY), i had to "stretch" the rear forks apart by hand, about 1/2 an inch to put the rear wheel with sprocket/rotor attached, and then use a spare 15MM axle nut on the sprocket/rotor inside of the drop down, threaded to the axle with blue locktite, to maintain that amount of "stretch" to accommodate the amount of of clearance space the rotor needs so as not to be pressed against the frame.
It helps to have a buddy with a strong pair of hands to help in this proceedure like I did...lol.
Do NOT attempt to stretch if you have an aluminum frame as it will crack on you.
You may also be able to do something like I adapted later on so I can R&R the rear wheel by myself though, this method is perfect if your using mag wheels but might be a little tricky with spoked rims.
Here is the tool I adapted:
And this is how the tool works:
Spreading rear bike frame (steel)
It’s nice to have an unusually strong friend around to help you stretch out the rear frame for modified rear wheel accommodation.motoredbikes.com
Spreading rear bike frame (steel)
It’s nice to have an unusually strong friend around to help you stretch out the rear frame for modified rear wheel accommodation.

You are using an out of date browser. It may not display this or other websites correctly.
You should upgrade or use an alternative browser.
You should upgrade or use an alternative browser.
Disc brakes
- Thread starter mirman
- Start date
I have another question for you. If I use the slime tubes and my tire wears out how do I get the tire off the rim? I found out you cannot leak air out of it with the valve because the slime fills the air valve.You may be able to use these adapters...I would advise that you be ready to drill a hole in each one that will hopefully be able to match an existing hole in the frame dropouts though for stability so they do not shift on you.
BBR Tuning Billet Aluminum Disc Brake Caliper Bracket
This works with motorized or standard bicycles and allows you to install a disk brake if you don't have the necessary mounts. No more rim or coaster brakes.
On my bike, (steel frame ONLY), i had to "stretch" the rear forks apart by hand, about 1/2 an inch to put the rear wheel with sprocket/rotor attached, and then use a spare 15MM axle nut on the sprocket/rotor inside of the drop down, threaded to the axle with blue locktite, to maintain that amount of "stretch" to accommodate the amount of of clearance space the rotor needs so as not to be pressed against the frame.
It helps to have a buddy with a strong pair of hands to help in this proceedure like I did...lol.
Do NOT attempt to stretch if you have an aluminum frame as it will crack on you.
You may also be able to do something like I adapted later on so I can R&R the rear wheel by myself though, this method is perfect if your using mag wheels but might be a little tricky with spoked rims.
Here is the tool I adapted:
And this is how the tool works:Spreading rear bike frame (steel)
It’s nice to have an unusually strong friend around to help you stretch out the rear frame for modified rear wheel accommodation.
Spreading rear bike frame (steel)
It’s nice to have an unusually strong friend around to help you stretch out the rear frame for modified rear wheel accommodation.
Show me some pics of your bike overall and then some close ups of the front and rear forms where your rims mount to.The bracket looks nice but in their video and on the website they say it won't work with my style of frame. I do not have drop out frame.
One of the reasons why I stated to be prepared to drill a whole to hold it in place to stablise the adapter from moving on you.
I just use a Schrader valve core removal tool is all.I have another question for you. If I use the slime tubes and my tire wears out how do I get the tire off the rim? I found out you cannot leak air out of it with the valve because the slime fills the air valve.
Will the bracket you showed me work on a frame that is not drop out?Show me some pics of your bike overall and then some close ups of the front and rear forms where your rims mount to.
One of the reasons why I stated to be prepared to drill a whole to hold it in place to stablise the adapter from moving on you.
I just use a Schrader valve core removal tool is all.
Again I will say, post some pics so we can actually see what you have to work with.Will the bracket you showed me work on a frame that is not drop out?
I would then have to install an adapter to get up to 203 mm disc sizeWill the bracket you showed me work on a frame that is not drop out?
I have found in over ten years of building these things that there is no such thing as one size fits all and everything just goes together right out of the box...You have to constantly be thinking out of the box and either have, or learn new skills as you go along...Almost everything on these bikes need some adaptation.I would then have to install an adapter to get up to 203 mm disc size
Again I will say, post some pics so we can actually see what you have to work with.
Attachments


This is a Kent Bayside and I have already added disc brake to the front. Now I need it in the back also.I have found in over ten years of building these things that there is no such thing as one size fits all and everything just goes together right out of the box...You have to constantly be thinking out of the box and either have, or learn new skills as you go along...Almost everything on these bikes need some adaptation.
It should work, you just may need to do some adaptation as previously mentioned is all.
I am sure some others will come along here this morning once they get outta bed and suck down a cup of coffee and maybe give some other pointers based on their experiences too.
I am sure some others will come along here this morning once they get outta bed and suck down a cup of coffee and maybe give some other pointers based on their experiences too.
Similar threads
- Replies
- 5
- Views
- 330
- Replies
- 20
- Views
- 1K